Running Your Own Discord Bot
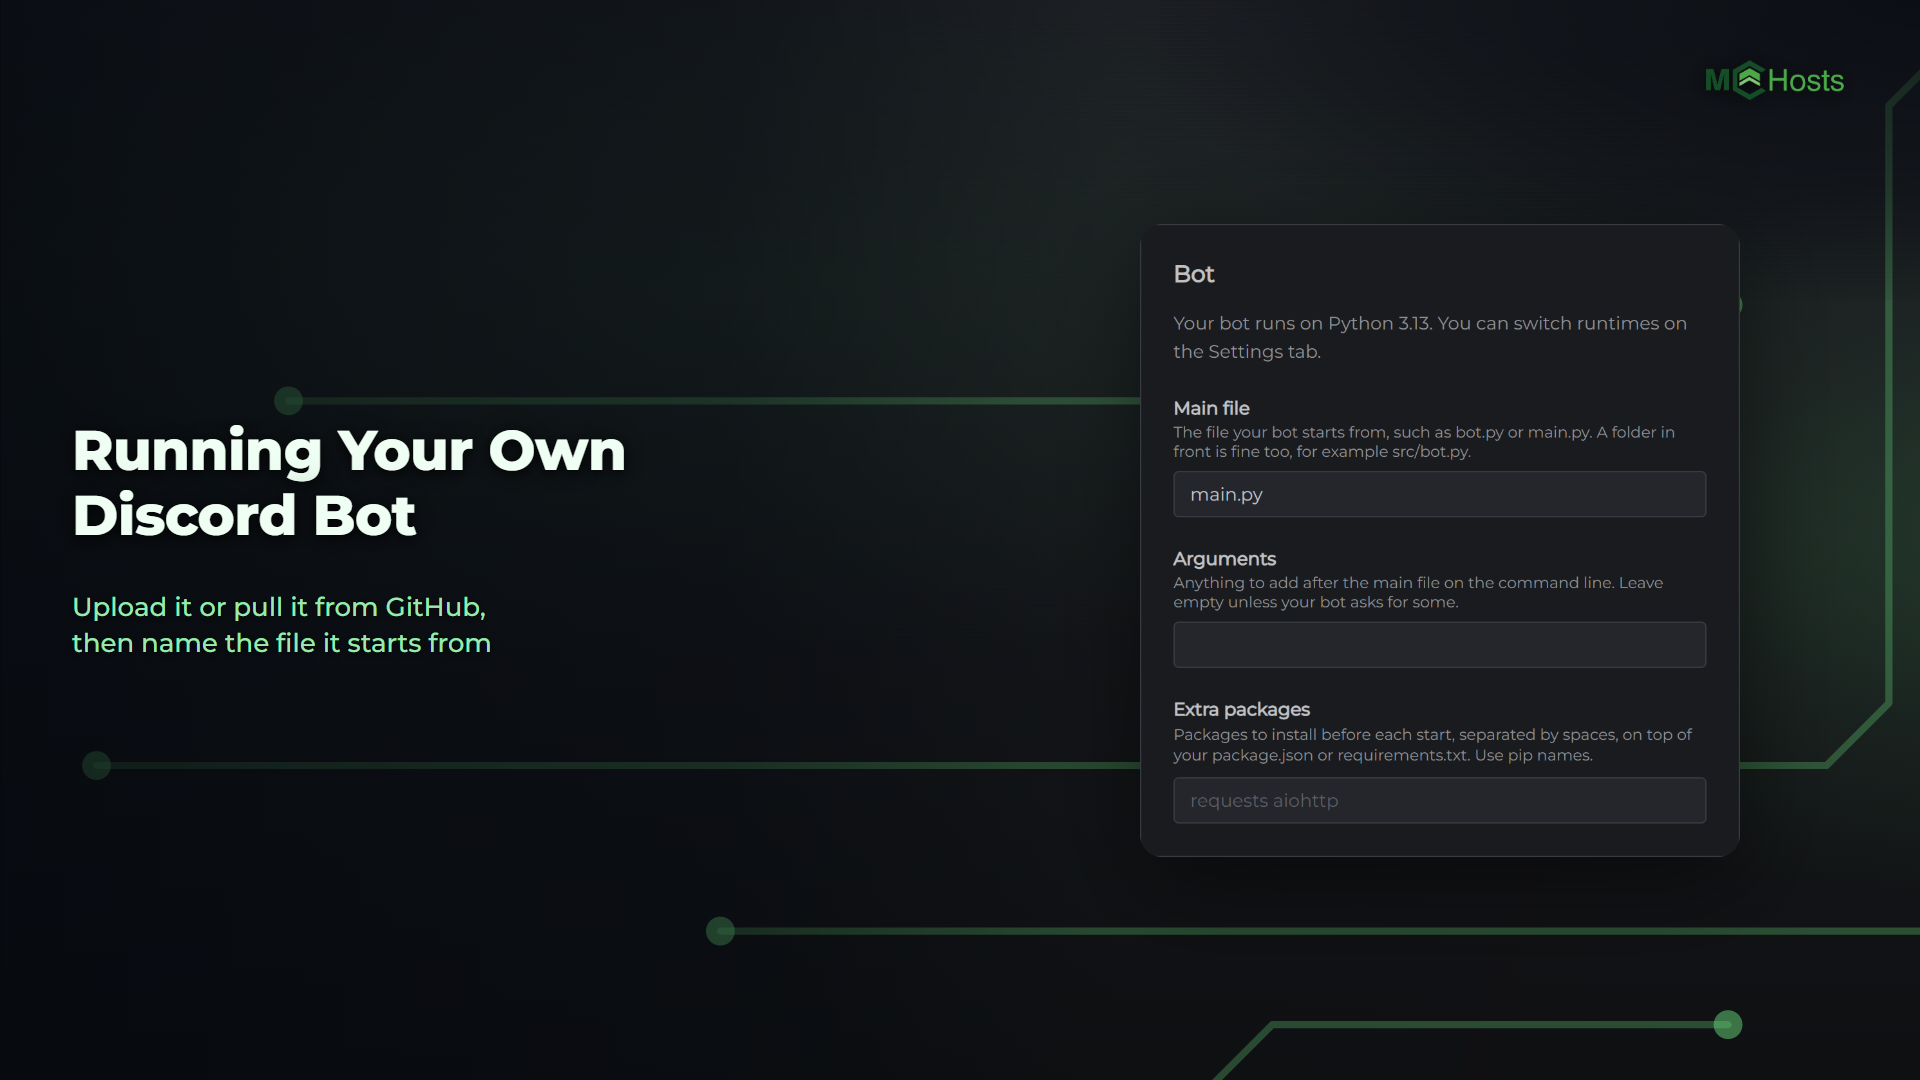
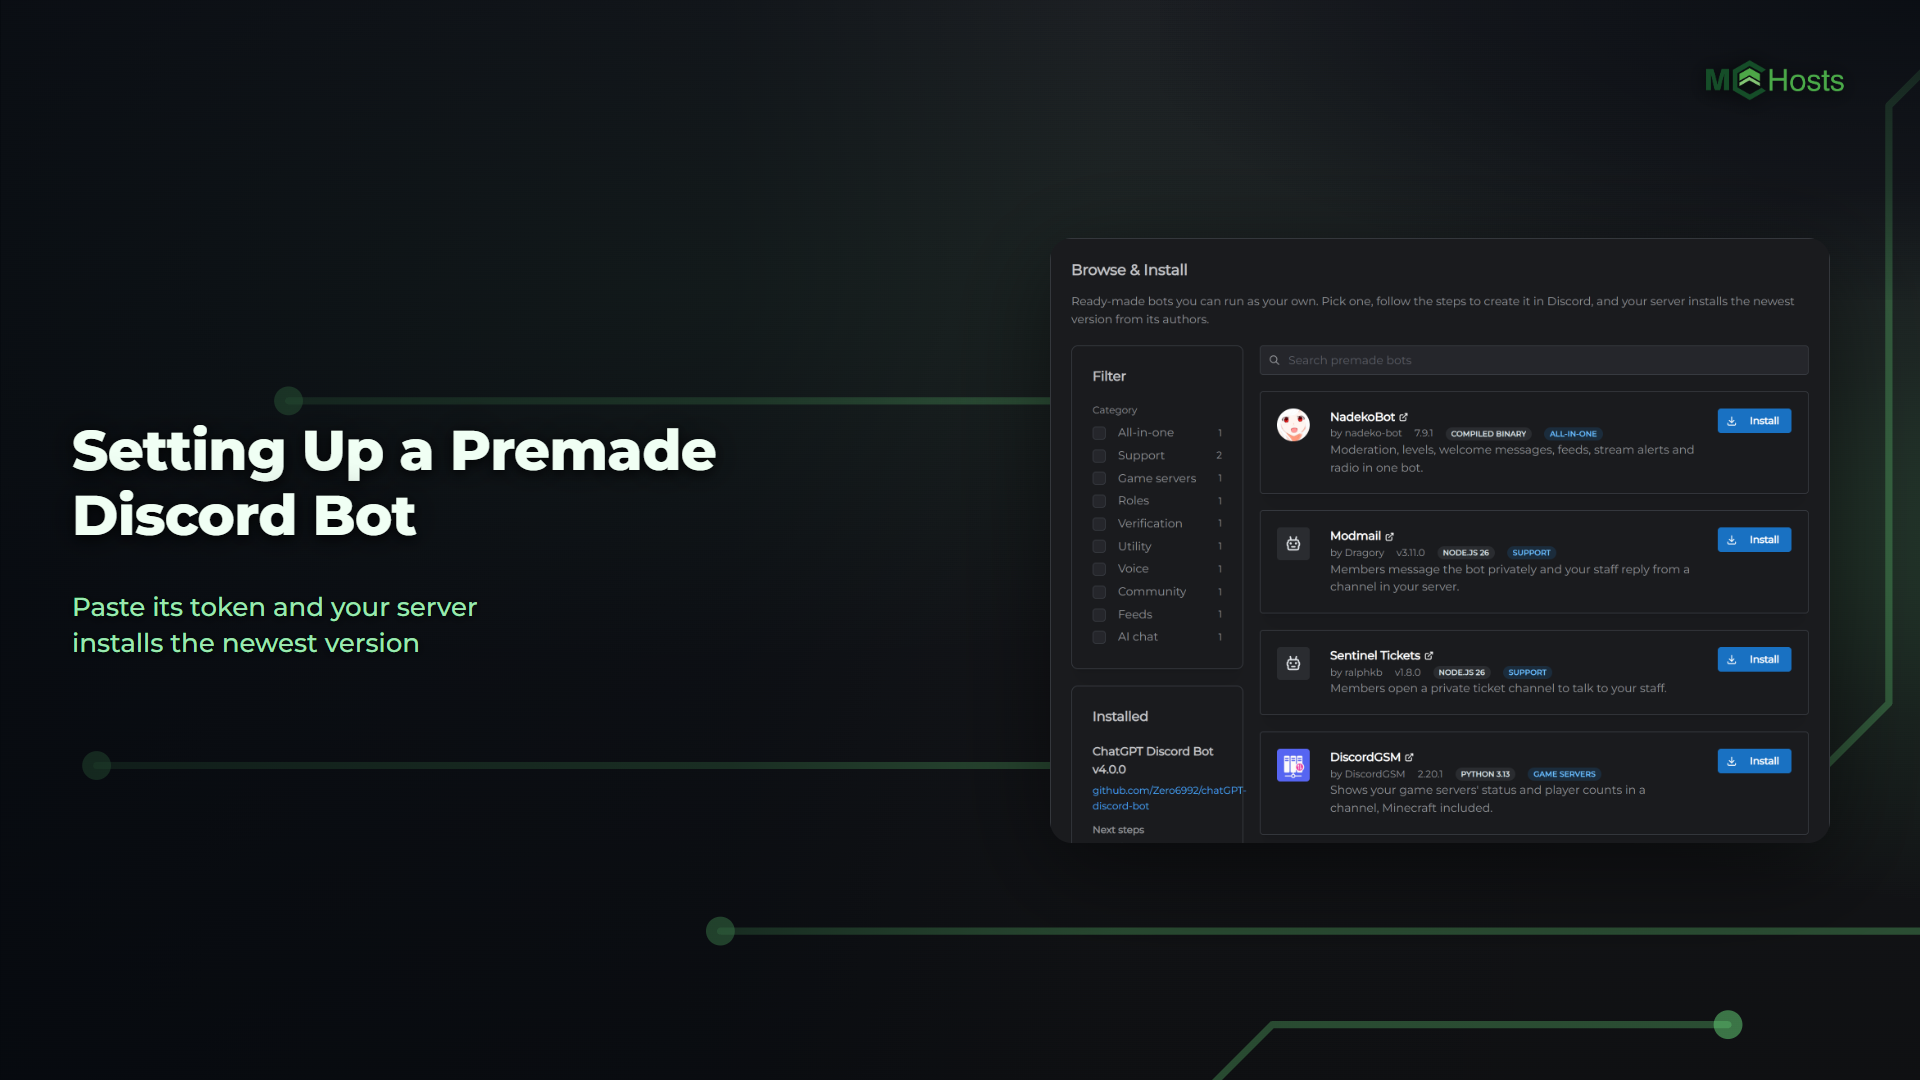
Your server runs any bot you put on it, whether you wrote it yourself or found it on GitHub. Put its files on your server, tell your control panel which file starts it, and press Start.
Choose the runtime
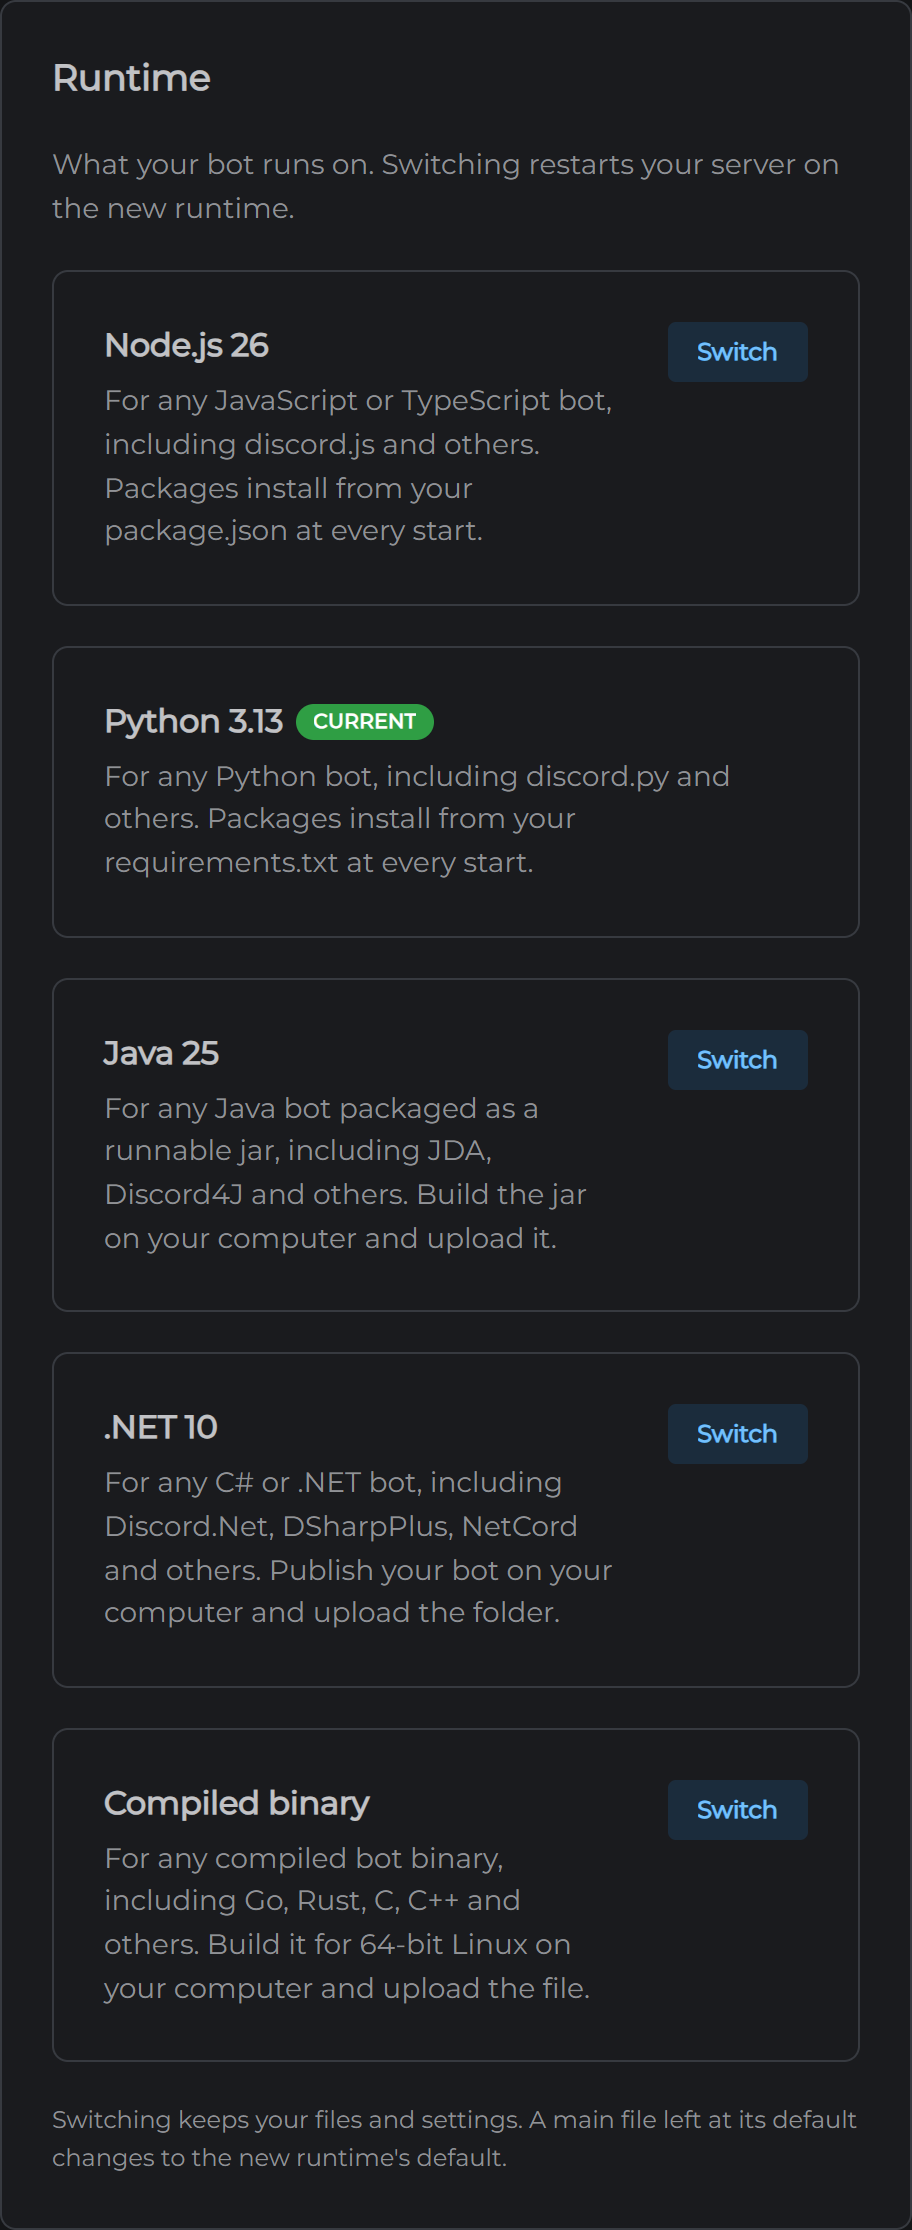
Your server runs one runtime at a time. You picked it at checkout, and you can change it whenever you like on the Settings tab.
- Node.js 26 for JavaScript or TypeScript bots, such as ones built on discord.js
- Python 3.13 for Python bots, such as ones built on discord.py
- Java 25 for a Java bot packaged as a runnable jar
- .NET 10 for C# and other .NET bots
- Compiled binary for a bot built for 64-bit Linux, in Go, Rust, C++ or anything else that compiles
Switching restarts your server on the new runtime. Your files and settings stay where they are.
Put your bot on your server
Upload it on the Files tab, or over SFTP if it's a lot of files.
Node.js and Python. Upload your code along with its package.json or requirements.txt. Leave out node_modules and .venv, because your server installs your packages itself every time your bot starts.
Java. Build a runnable jar on your computer and upload it.
.NET. Publish your bot on your computer and upload the whole publish folder, so your .dll has its other files beside it.
Compiled binary. Build it for 64-bit Linux and upload the file. Your server makes it executable before it starts.
Or deploy it from GitHub
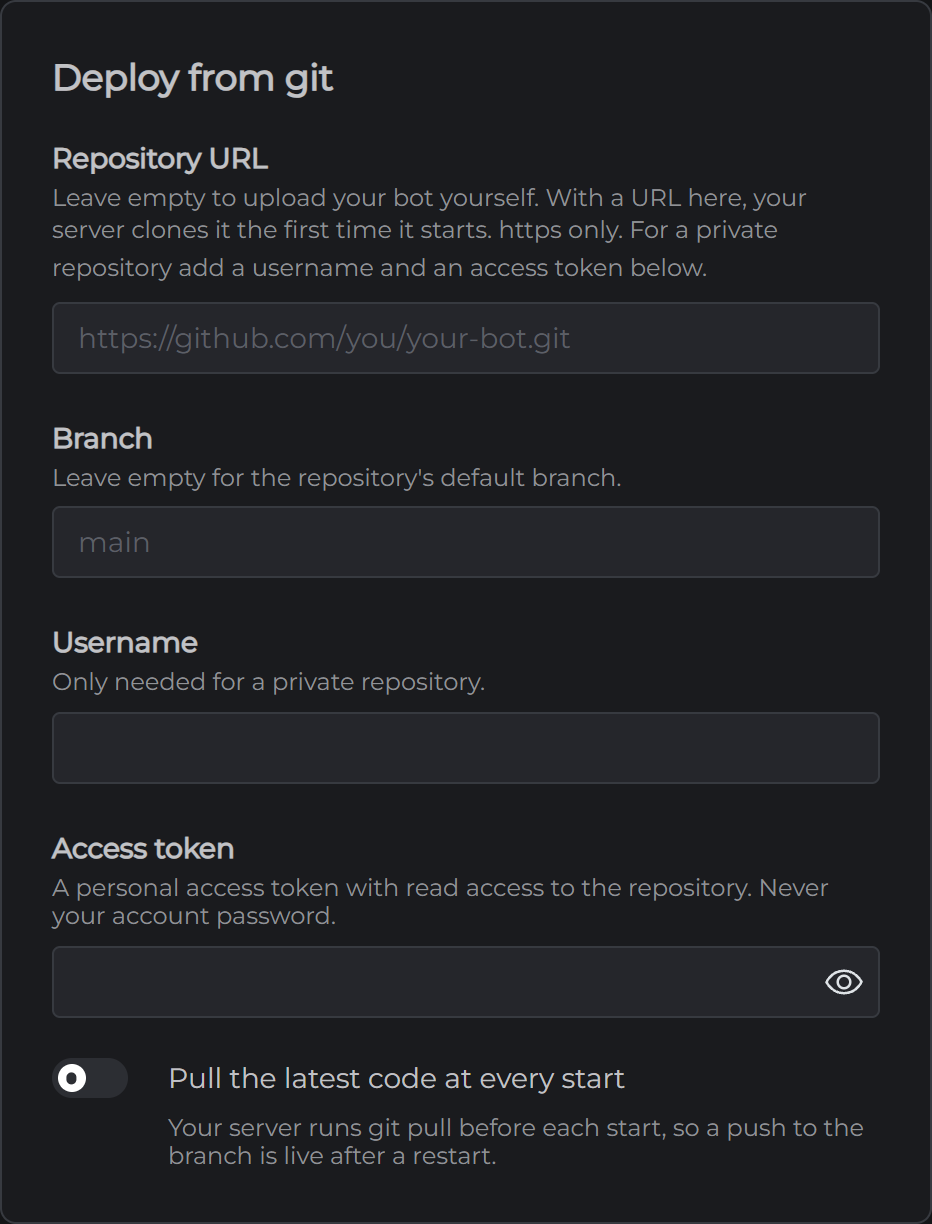
The Deploy from git card on the Config tab pulls your bot straight from a repository.
- Paste the repository's address into Repository URL. It has to start with https://
- Fill in Branch if your bot isn't on the repository's default branch
- For a private repository, add your Username and an Access token that can read it. Never your account password
- Click Save at the top of the Config tab, then start your bot
Your server copies the repository the first time it starts. After that it runs the code it has. To pick up new code automatically, turn on Pull the latest code at every start, and a push to your branch goes live the next time your bot restarts.
Tell it which file to start
On the Config tab, the Bot card has your Main file. It starts as index.js on Node.js, bot.py on Python, bot.jar on Java, Bot.dll on .NET and bot for a compiled binary. If yours is called something else, type its name. A folder in front is fine too, like src/index.js.
Arguments are added after the main file when your bot starts. Leave it empty unless your bot asks for some.
Extra packages are for Node.js and Python. List any packages to install on top of your package.json or requirements.txt, with spaces between them.
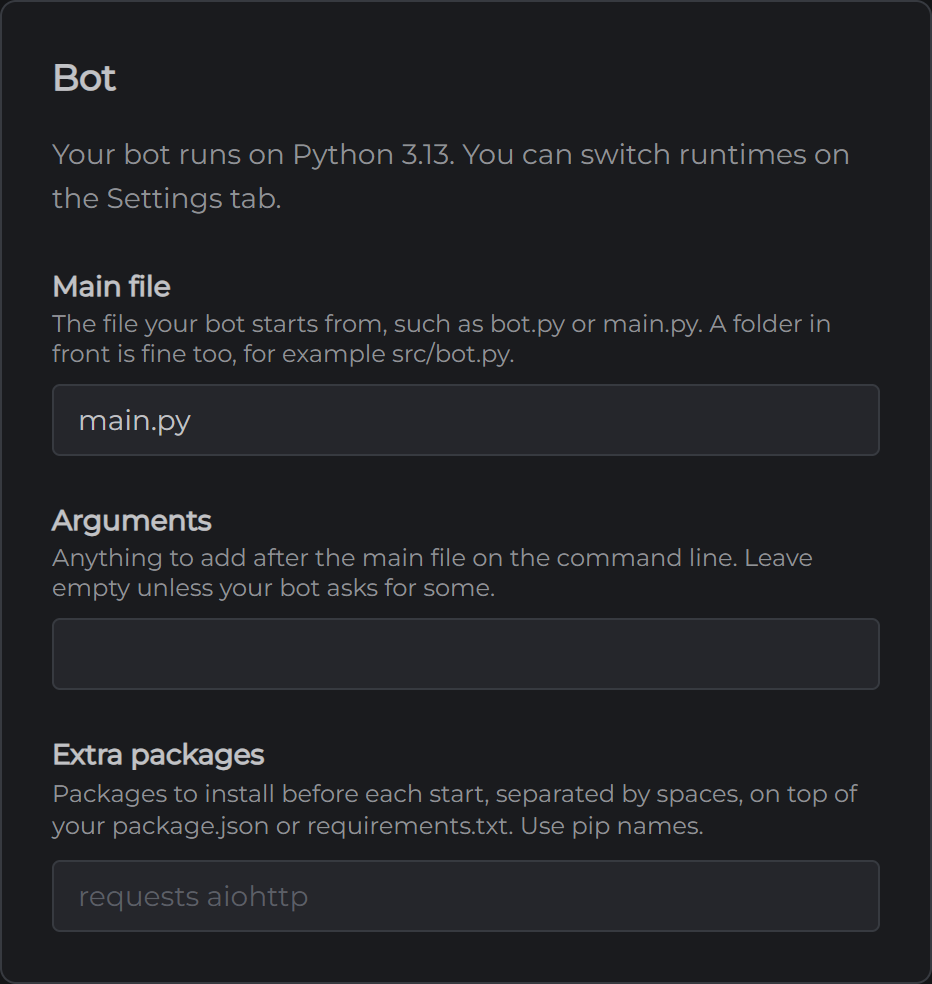
Anything you change on the Config tab applies the next time your bot starts.
Add your token
Put your bot's token under Environment variables on the same tab. Click Add variable, give it a name like DISCORD_TOKEN, and paste the token in as its value. Your bot reads it the way its language does, such as process.env.DISCORD_TOKEN in Node.js or os.environ["DISCORD_TOKEN"] in Python. Keeping Your Discord Bot Token Safe covers the rest.
Start it
Go to the Overview page and press Start. The Console shows your packages installing, then whatever your bot prints.
If the console says there's no file with your main file's name, the Config tab is pointing at the wrong place. Upload the file, or fix the name.
If your bot crashes, it stays stopped so you can read in the console why. Fix the problem and press Start again. Turn on crash alerts on the Settings tab and you'll get an email or a Discord message when it happens.
Tools
The Tools card on the Config tab has two programs your bot can use. ffmpeg is for bots that play or convert audio and video, and takes about 190MB of your storage. ImageMagick is for bots that make or edit images, and takes about 35MB. Tick one and it downloads the next time your bot starts. Untick it to remove it and get the space back.