Setting Up a Premade Discord Bot
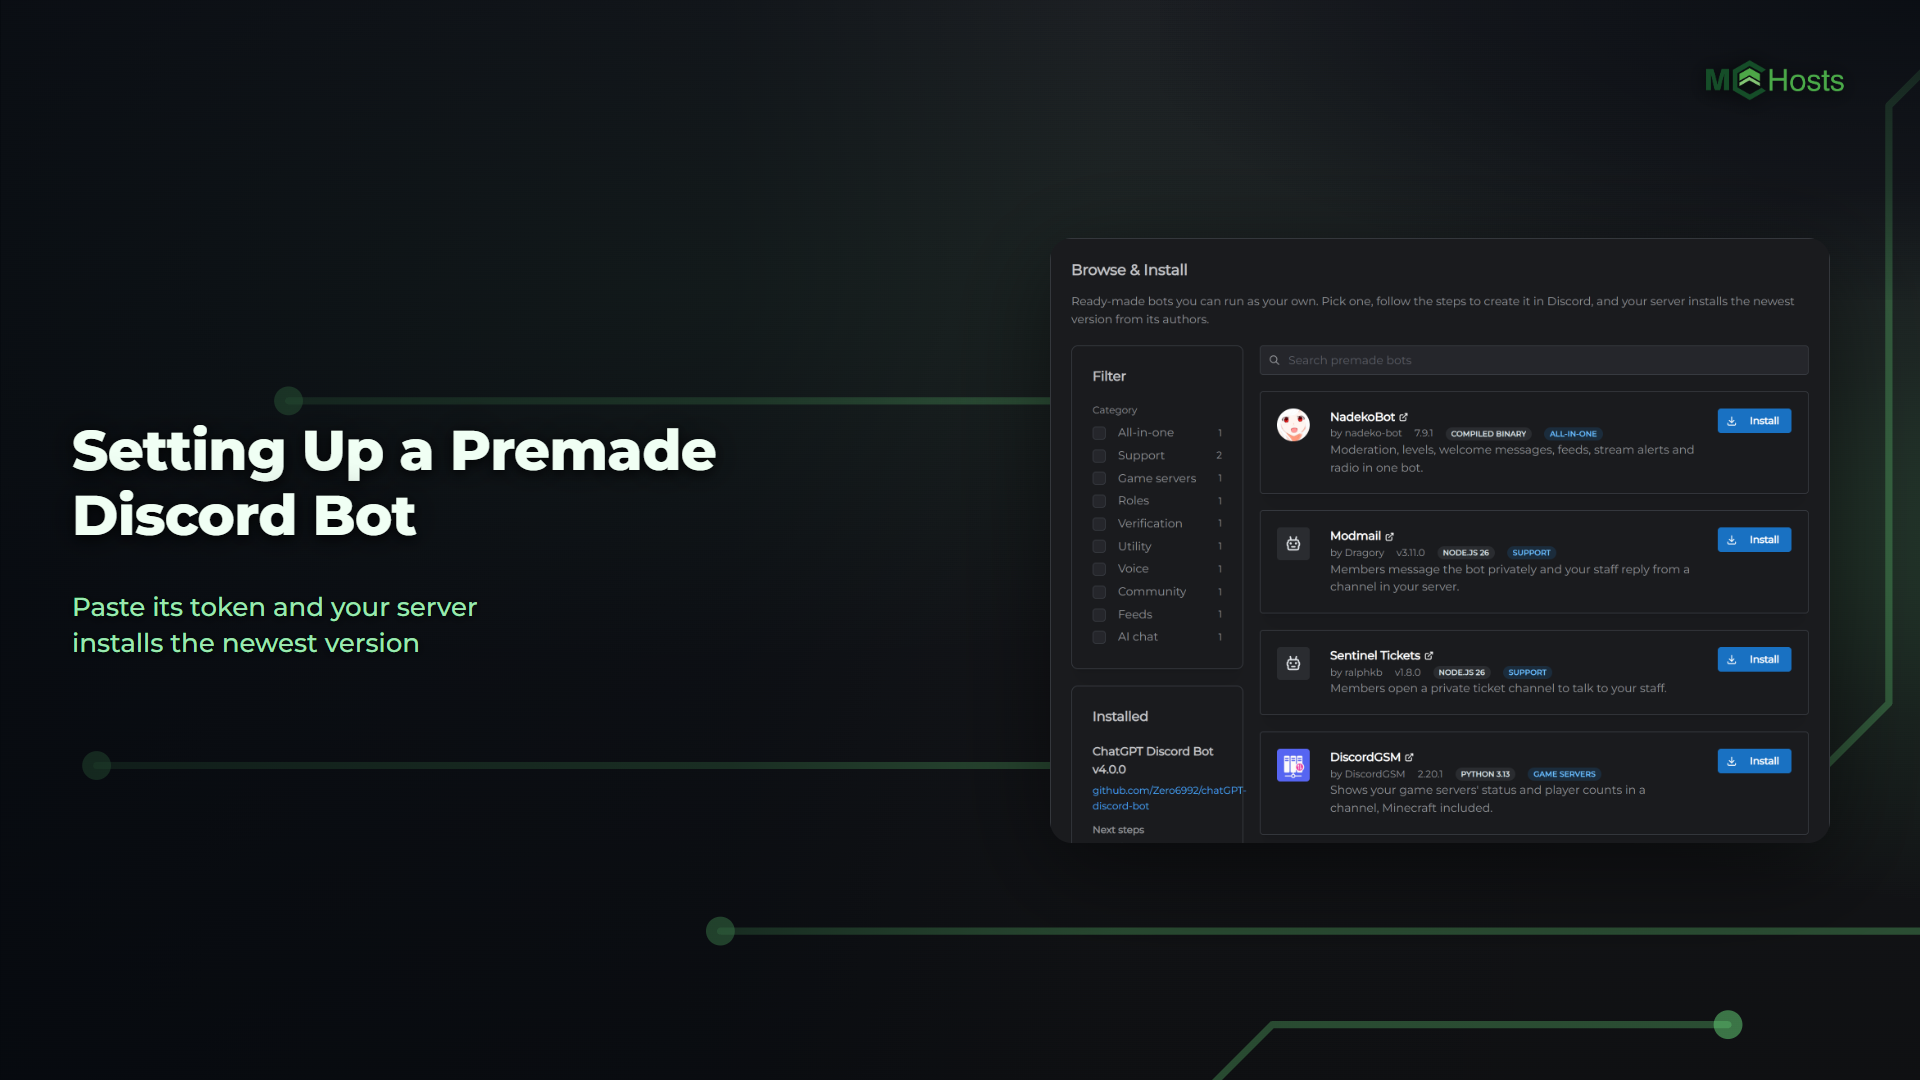
A premade bot is one somebody else wrote that your server installs for you. You create the bot in Discord and paste in its token, and your server downloads the newest version and starts it.
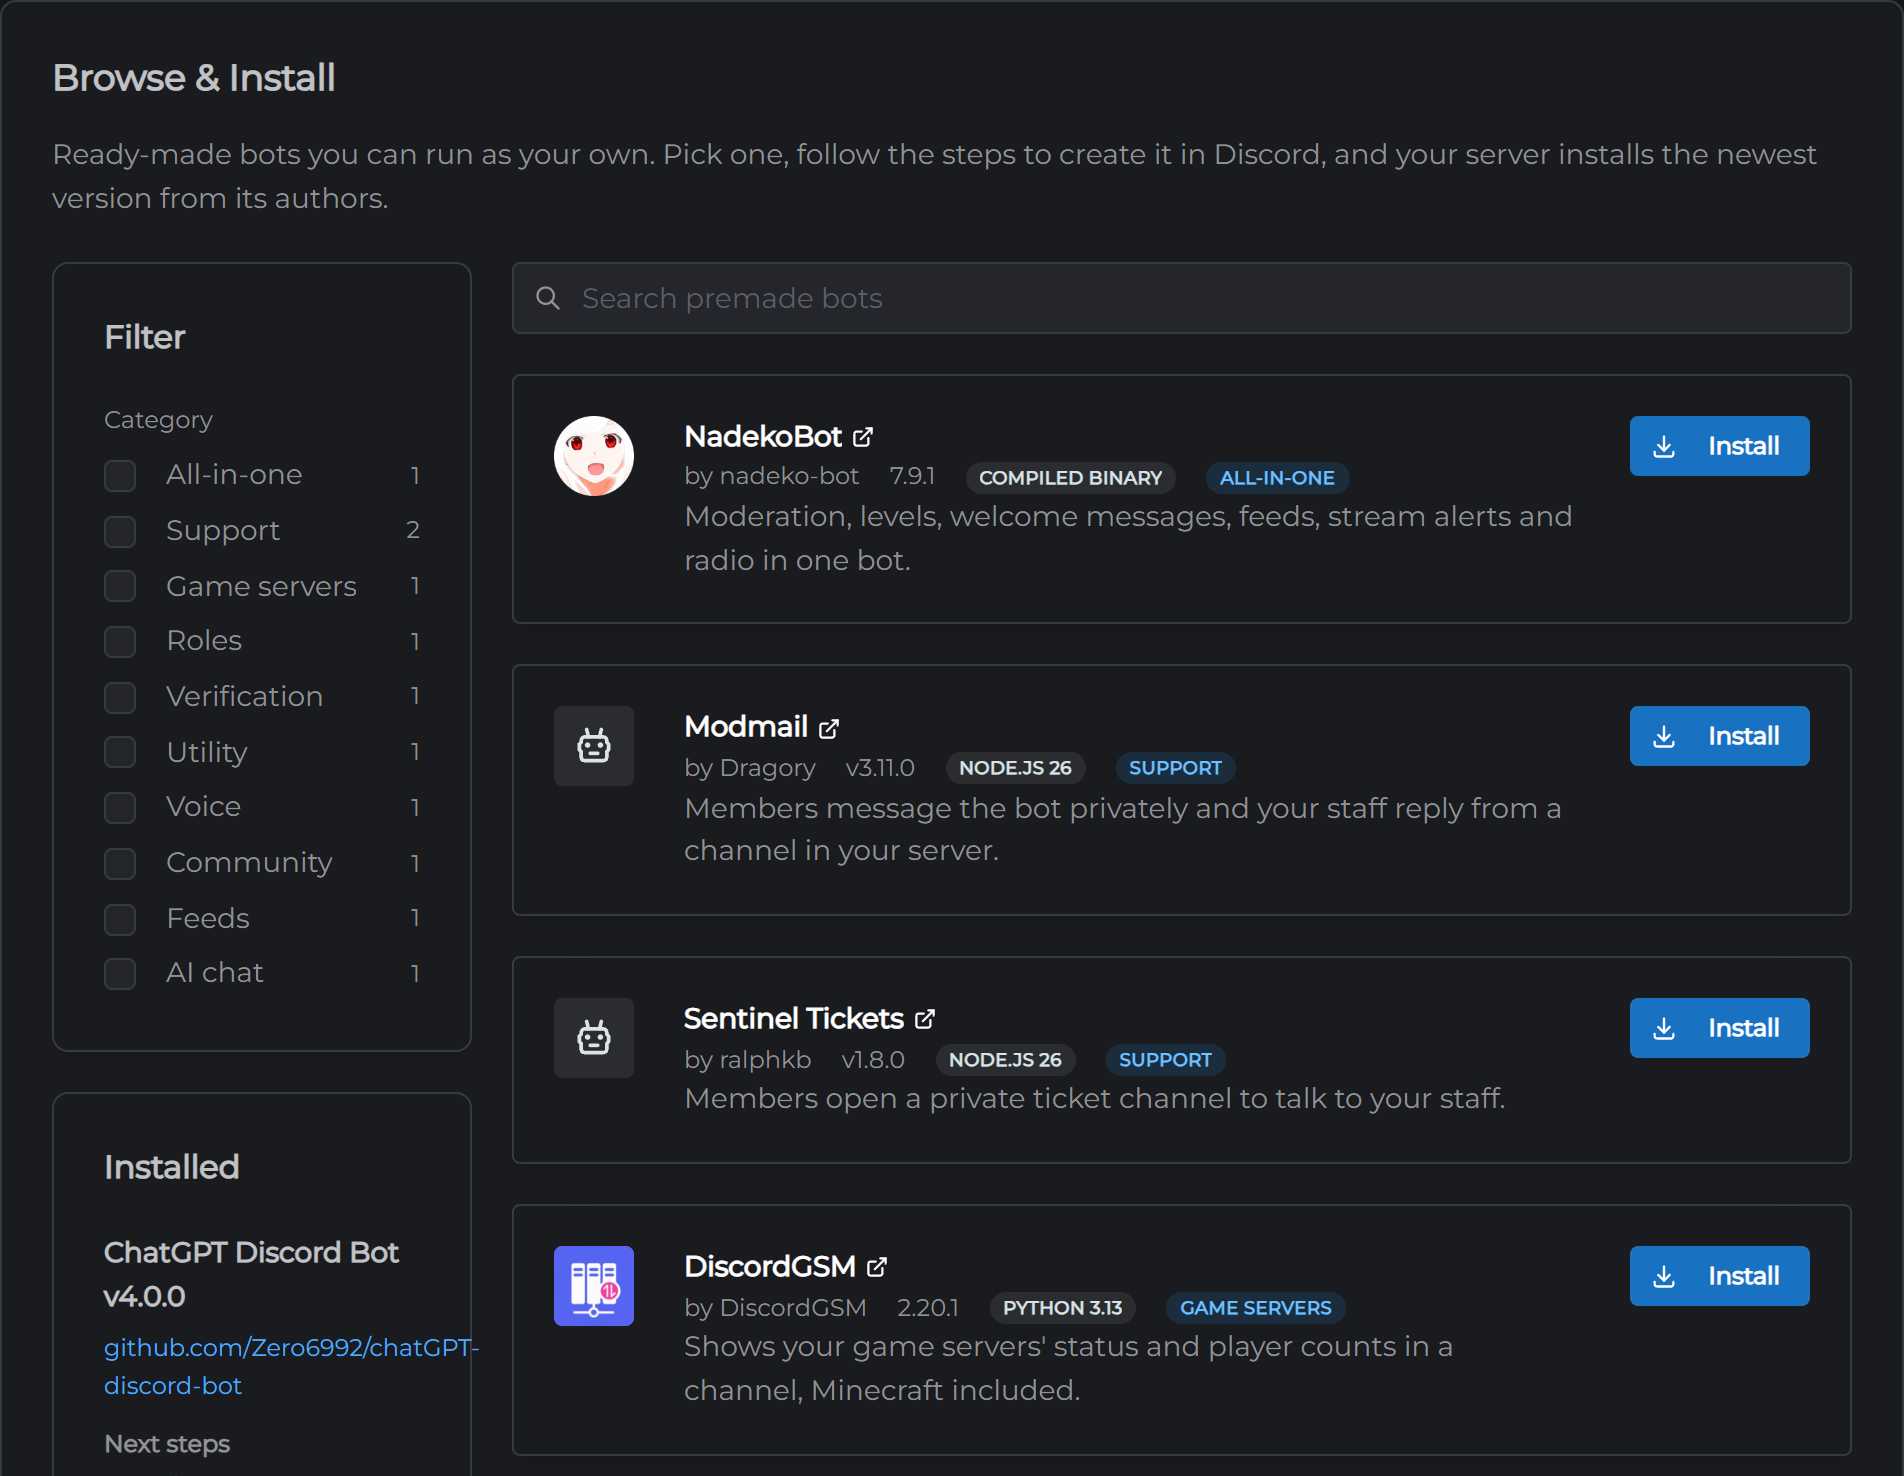
Choose your bot
You can choose one at checkout or later. At checkout, click Premade Bots beside Runtime and pick one, and your runtime is set to match. After you pay, stay on the page. About a minute later it takes you to your control panel with the bot's setup open.
Already have a bot Open the Premade Bots tab in your control panel and click Install on the bot you want.
Installing a premade bot deletes everything already on your server first. If there's a bot there you want to keep, take a backup before you start.
A few bots have a note in their setup about something you should know before installing, such as EmailVerify posting members' email addresses in its log channel. Read it before you carry on.
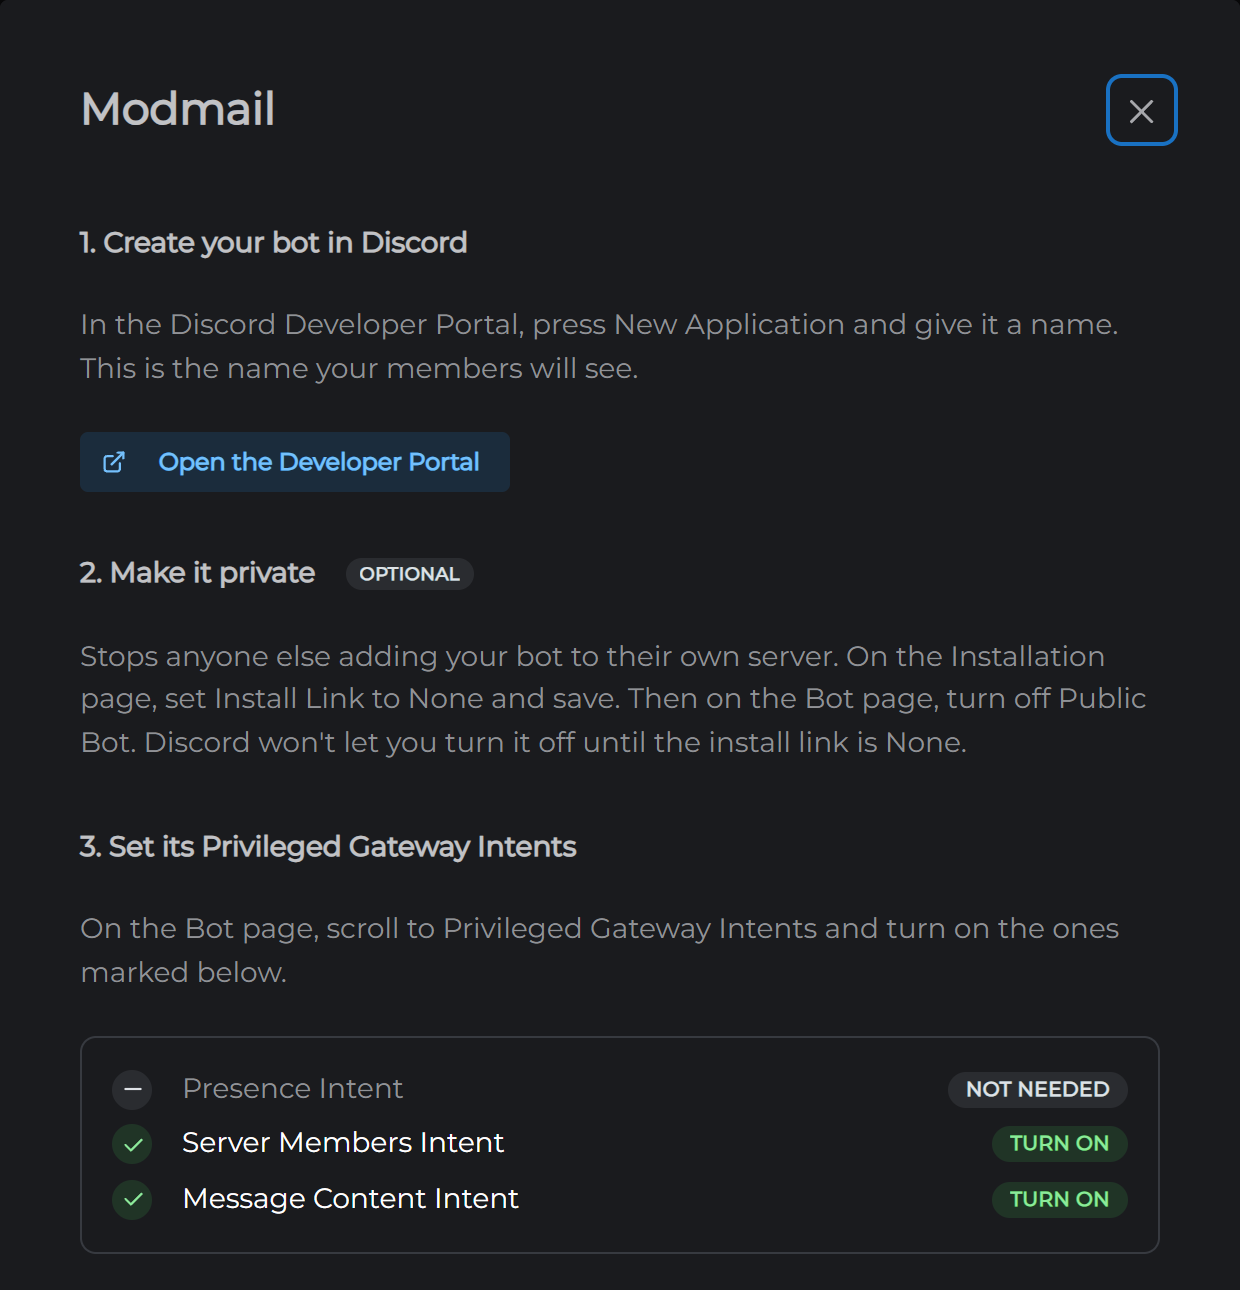
1. Create your bot in Discord
Click Open the Developer Portal. In Discord's Developer Portal, press New Application and give it a name. That's the name your members will see.
2. Make it private
This one's optional. It stops anyone else adding your bot to their own server. On the Installation page, set Install Link to None and save. Then on the Bot page, turn off Public Bot. Discord won't let you turn that off until the install link is None.
3. Turn on its intents
Some bots need extra access from Discord, called Privileged Gateway Intents. The setup lists all three and marks the ones your bot needs with Turn on. Switch those on in the Privileged Gateway Intents section of the Bot page and save. If your bot needs none, the setup tells you so.
4. Paste its token and fill in its settings
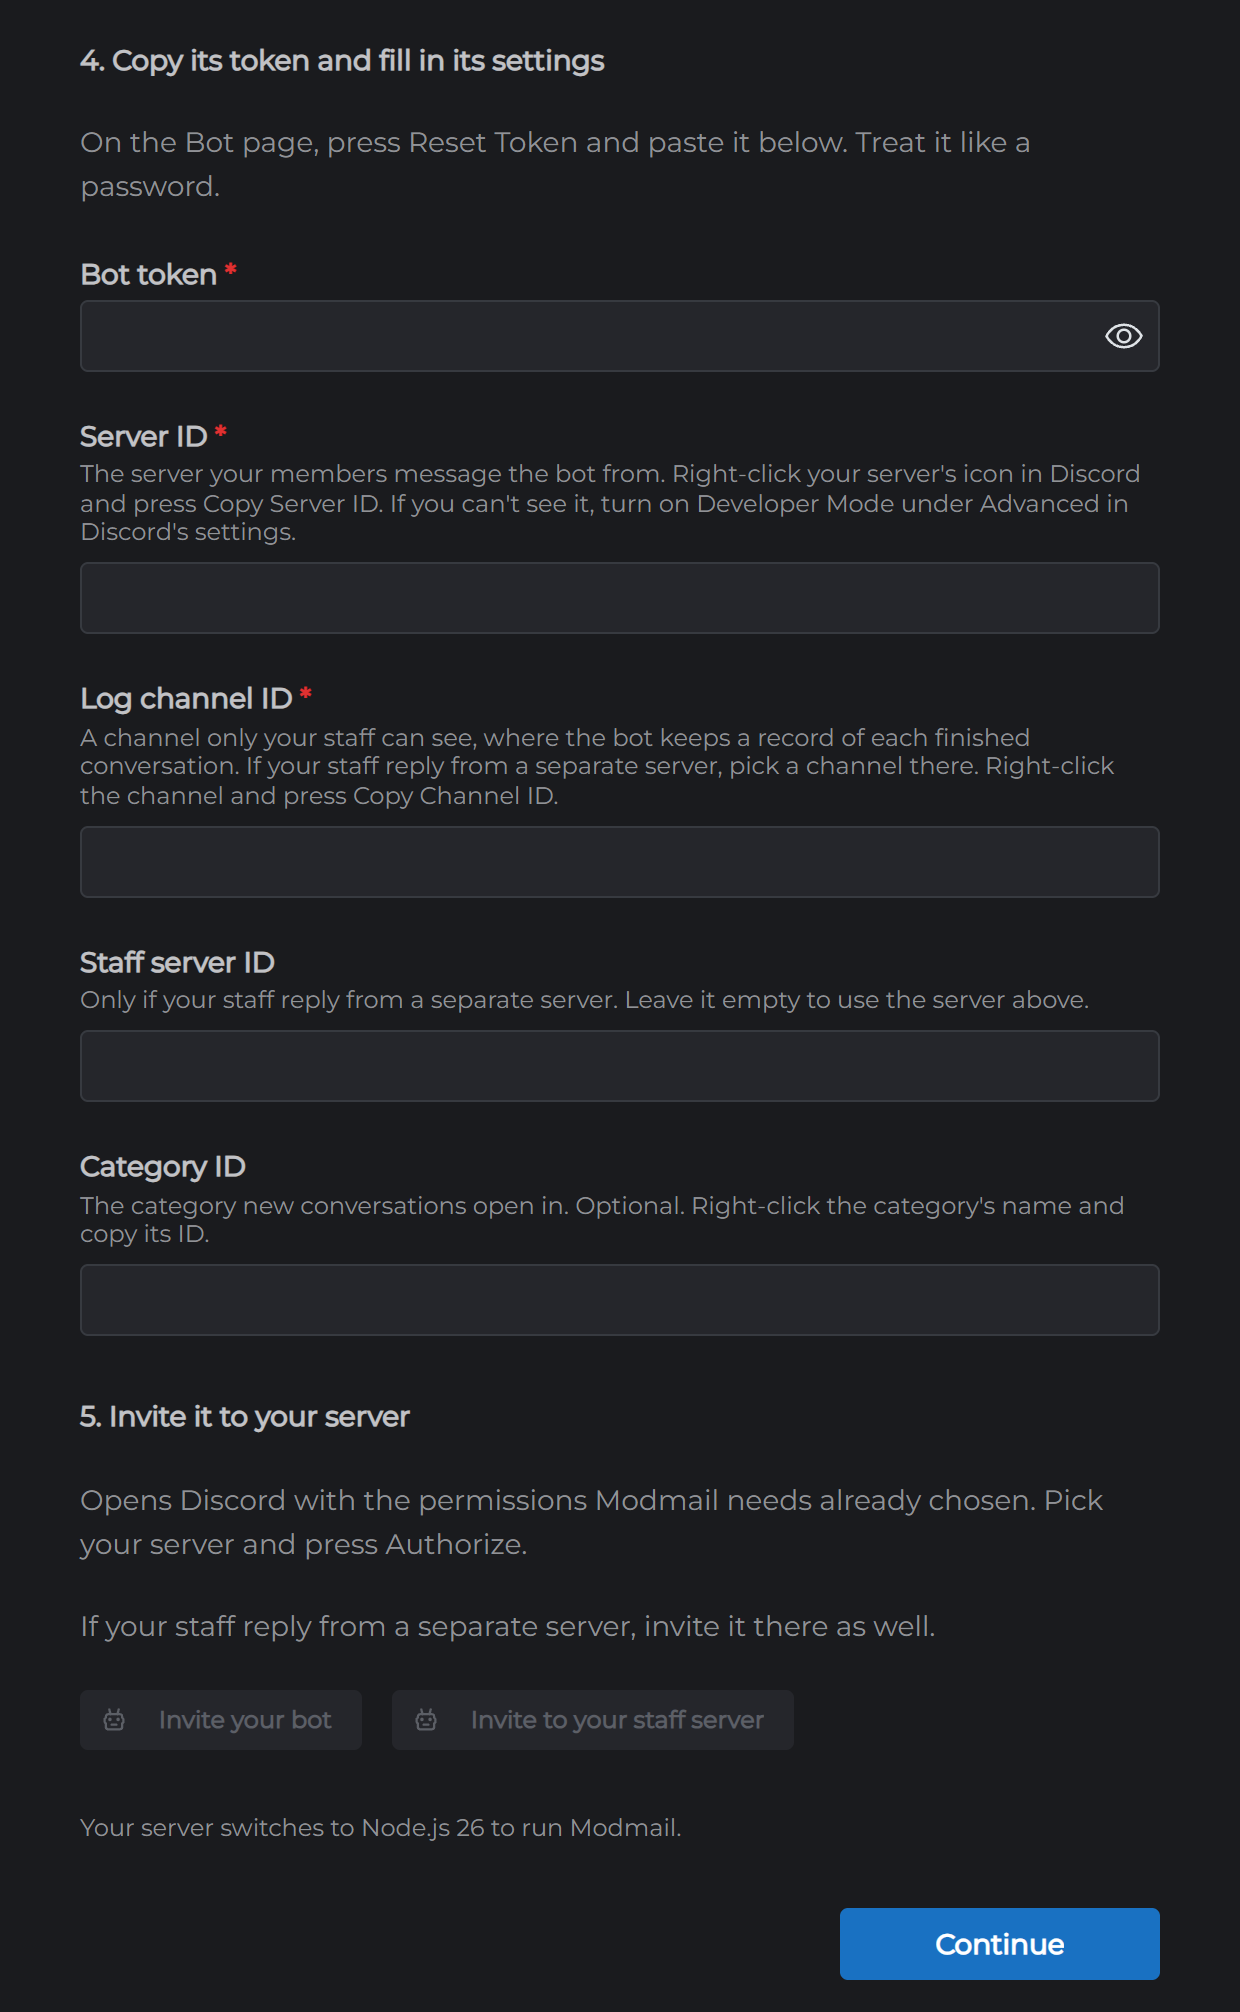
On the Bot page, press Reset Token and copy it. Paste it into Bot token in the setup. Treat it like a password, because anyone who has it can control your bot. Keeping Your Discord Bot Token Safe explains more.
Each bot then asks for a few details of its own, such as your Discord server's ID or the channel it should post in. To copy an ID, right-click your server's icon or the channel in Discord and press Copy Server ID or Copy Channel ID. Can't see those? Turn on Developer Mode under Advanced in Discord's settings.
5. Invite it to your server
Click Invite your bot. Discord opens with the permissions your bot needs already chosen. Pick your server and press Authorize.
Bots that hand out roles or manage members, such as NadekoBot and Reaction Light, need one more thing. In your Discord server's settings, open Roles and drag the bot's role above the roles it gives out. The setup names them. Discord only lets a bot manage the roles and members below its own.
Install it
Click Continue. Your server shows you what's about to happen, with a red box reminding you that everything on it is deleted first. Click Delete files and install.
Your server downloads the bot, puts your settings in place and starts it. The window closes by itself when it's done. If the bot needs a different runtime from the one your server is on, your server switches over afterwards and restarts, and the bot starts as it comes back up.
The Installed card on the Premade Bots tab then shows which bot you have and its next steps, such as the command to try first in Discord.
Changing its settings later
Most premade bots keep their token and settings under Environment variables on the Config tab. Reaction Light, EmailVerify and Starboard keep theirs in their own file in the config folder on the Files tab. Change a setting there and save it. It takes effect the next time your bot starts.