Voice Chat (SimpleVoiceChat)
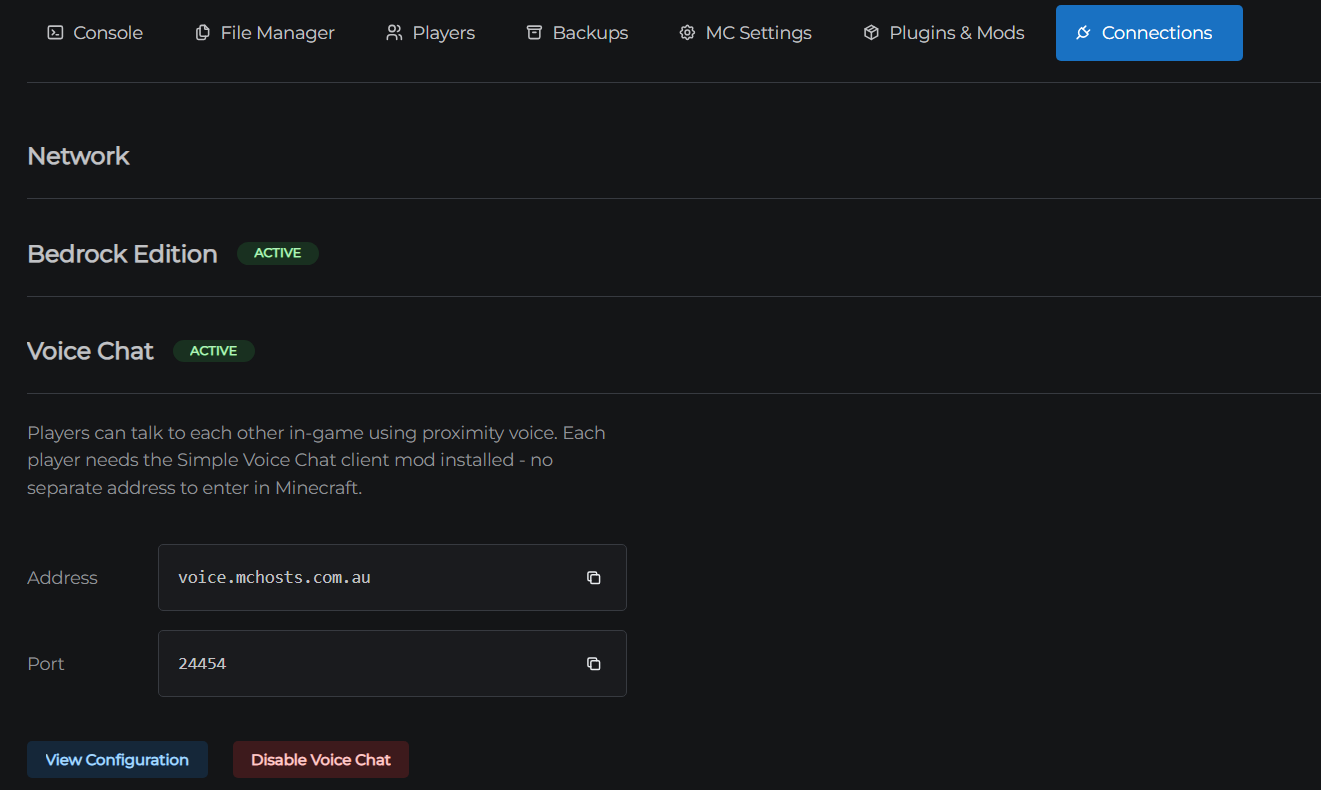
Voice Chat lets players talk to each other in-game using proximity-based voice, powered by the Simple Voice Chat plugin/mod. Players near each other in the world can hear one another, just like a real conversation.
This feature is free and included on every plan.
What you need
- A server running PaperMC, Forge, Fabric, or NeoForge - Vanilla servers do not support plugins or mods, so Voice Chat cannot be enabled on them. See Server Types if you want to switch.
- Each player needs the matching Simple Voice Chat client mod installed on their own computer (Step 2 below)
Step 1 - Enable Voice Chat
- Open the control panel
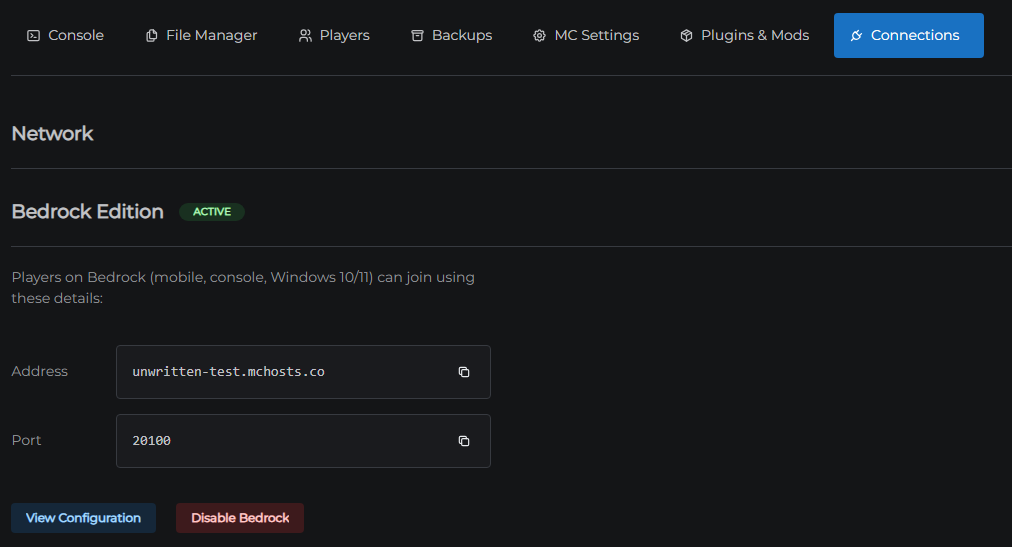
- Click the Connections tab
- Click Voice Chat to expand the section
- Click Enable Voice Chat
MCHosts automatically installs and configures the Simple Voice Chat plugin/mod for you - there's nothing to download or upload yourself. Restart your server from the Dashboard afterwards for it to load.
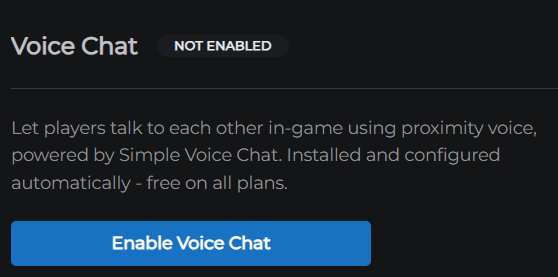
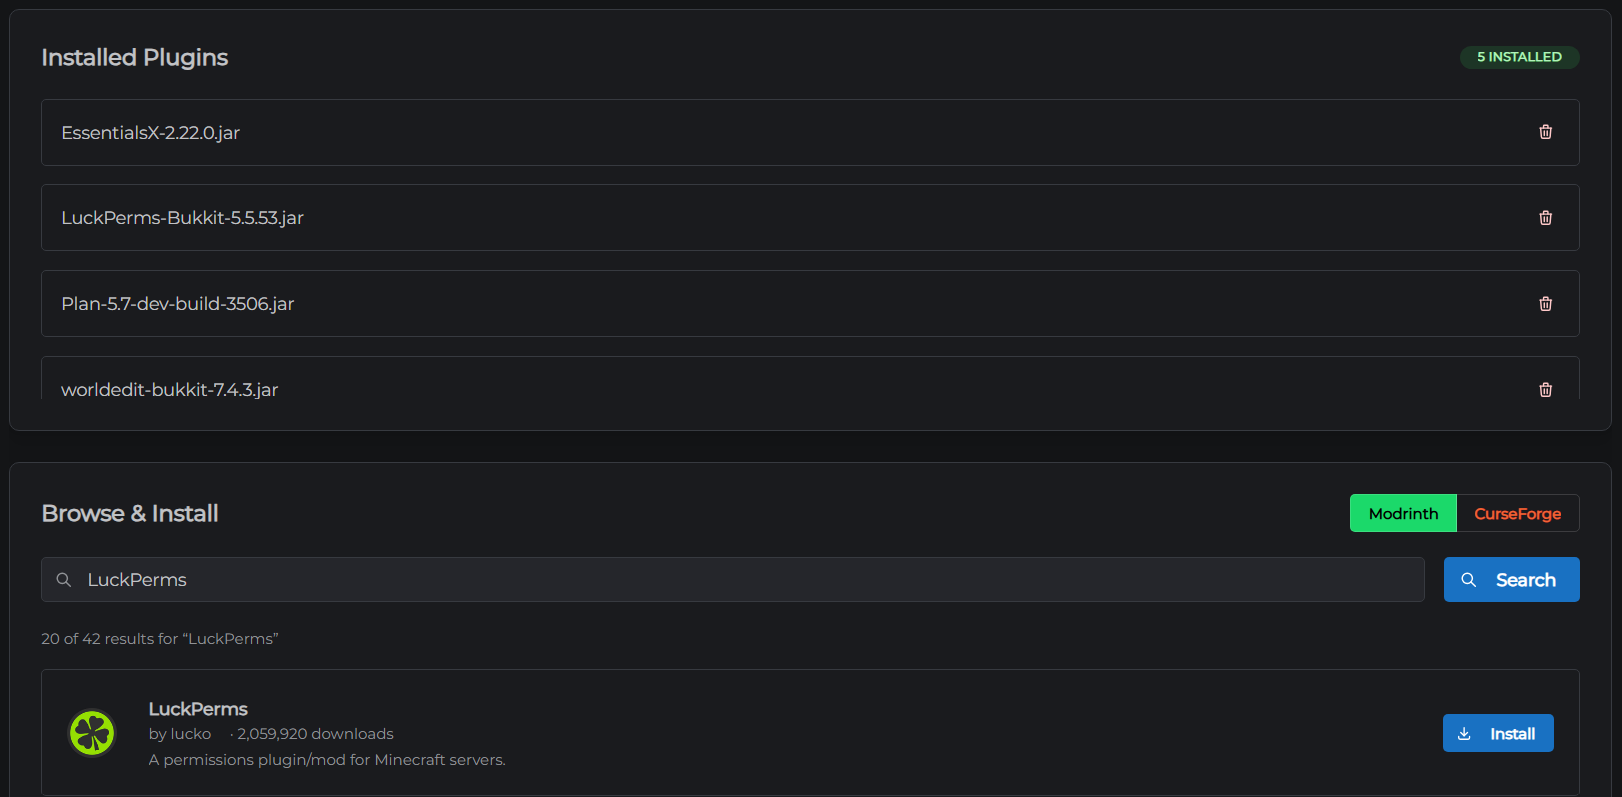
If you'd rather install the plugin/mod yourself through Plugins & Mods (for example, to pick a specific version), you still need to click Enable Voice Chat in the Connections tab afterwards - installing the plugin on its own does not turn on voice routing for your server. See Troubleshooting below.
Step 2 - Players install the client mod
Each player who wants to use voice chat needs the Simple Voice Chat mod installed in their own Minecraft client - it does not come with vanilla Minecraft.
- Players go to the Simple Voice Chat page on Modrinth
- They download the version matching their Minecraft version and mod loader (Fabric or Forge/NeoForge - whichever your server uses)
- They install it into their Minecraft client the same way as any other client mod (via the Fabric/Forge mod loader, or through a launcher like the Modrinth App or CurseForge App)
Players joining a PaperMC server (plugins, not mods) still need the client mod installed on Fabric or Forge - the server-side plugin and the client-side mod work together even though the server itself isn't "modded" from a gameplay perspective.
Step 3 - Connect and talk
Voice Chat uses the same server address you already connect with - there's no separate address or port to enter in Minecraft itself.
- Join your server as normal
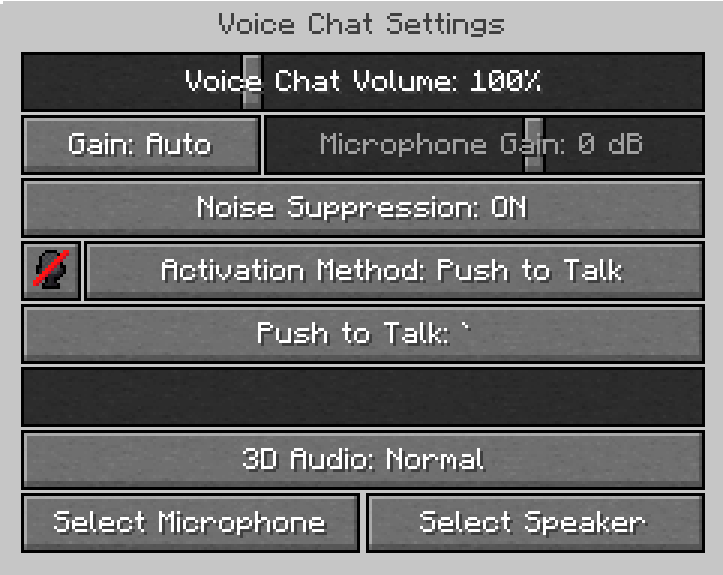
- In Simple Voice Chat's in-game settings (usually opened with a keybind shown in the mod's options), confirm your microphone is selected
- Use the push-to-talk key (default V) or switch to voice-activation mode in the mod's settings
- Players within hearing range in the world will hear you - move closer or further away to change volume, just like a real conversation
Disabling Voice Chat
- Open the Connections tab
- Expand Voice Chat
- Click Disable Voice Chat
This stops routing voice traffic to your server. The Simple Voice Chat plugin/mod files remain in your plugins/mods folder - remove them manually from the File Manager if you no longer want them there. You can re-enable Voice Chat at any time without reinstalling anything.
Technical details (optional reading)
Voice Chat runs on a single fixed port, UDP 24454, which is already open on every MCHosts server - you don't need to forward or configure anything. When you click Enable Voice Chat, MCHosts automatically configures the plugin to send voice traffic to voice.mchosts.com.au - a dedicated MCHosts address, separate from your server's own <yourname>.mchosts.co address or any custom domain. This keeps Voice Chat working even if you set up a custom domain later and its DNS ever changes or lapses - voice chat isn't tied to DNS you manage yourself.
This is different to Bedrock Edition, where each server gets its own unique port - Voice Chat's port is the same for every server because MCHosts routes each player's voice traffic to the right server behind the scenes.
Troubleshooting
I can't hear anyone / no one can hear me - confirm Voice Chat is enabled in the Connections tab (not just installed) and the server was restarted afterwards, and confirm you personally have the client mod installed (Step 2). All three are required.
I installed Simple Voice Chat myself through Plugins & Mods, but it's still not working - installing the plugin/mod on its own does not turn on voice routing. Go to the Connections tab and click Enable Voice Chat as well.
"Enable Voice Chat" isn't available - your server is running Vanilla. Switch to PaperMC, Forge, Fabric, or NeoForge in Settings → Server first. See Server Types.
"Enable Voice Chat" says my server needs an update, or you see a technical error mentioning "Failed to fetch" or "CORS" - both mean the same thing: your server is running on an older platform version that doesn't support Voice Chat yet. A normal Stop/Start from the Dashboard won't fix this - it only restarts the Minecraft process, not the underlying platform. Go to MC Settings → Danger Zone and click Reboot Instance instead, then come back and try again. See Danger Zone if you're not sure where that is.
The mod says it can't connect - some home routers or firewalls block outgoing UDP traffic. Try switching networks (e.g. mobile hotspot) to confirm whether this is the cause.
No sound even though everything is installed - check your operating system's microphone permissions for Minecraft, and confirm the correct microphone is selected in Simple Voice Chat's settings.