Purchasing a Server
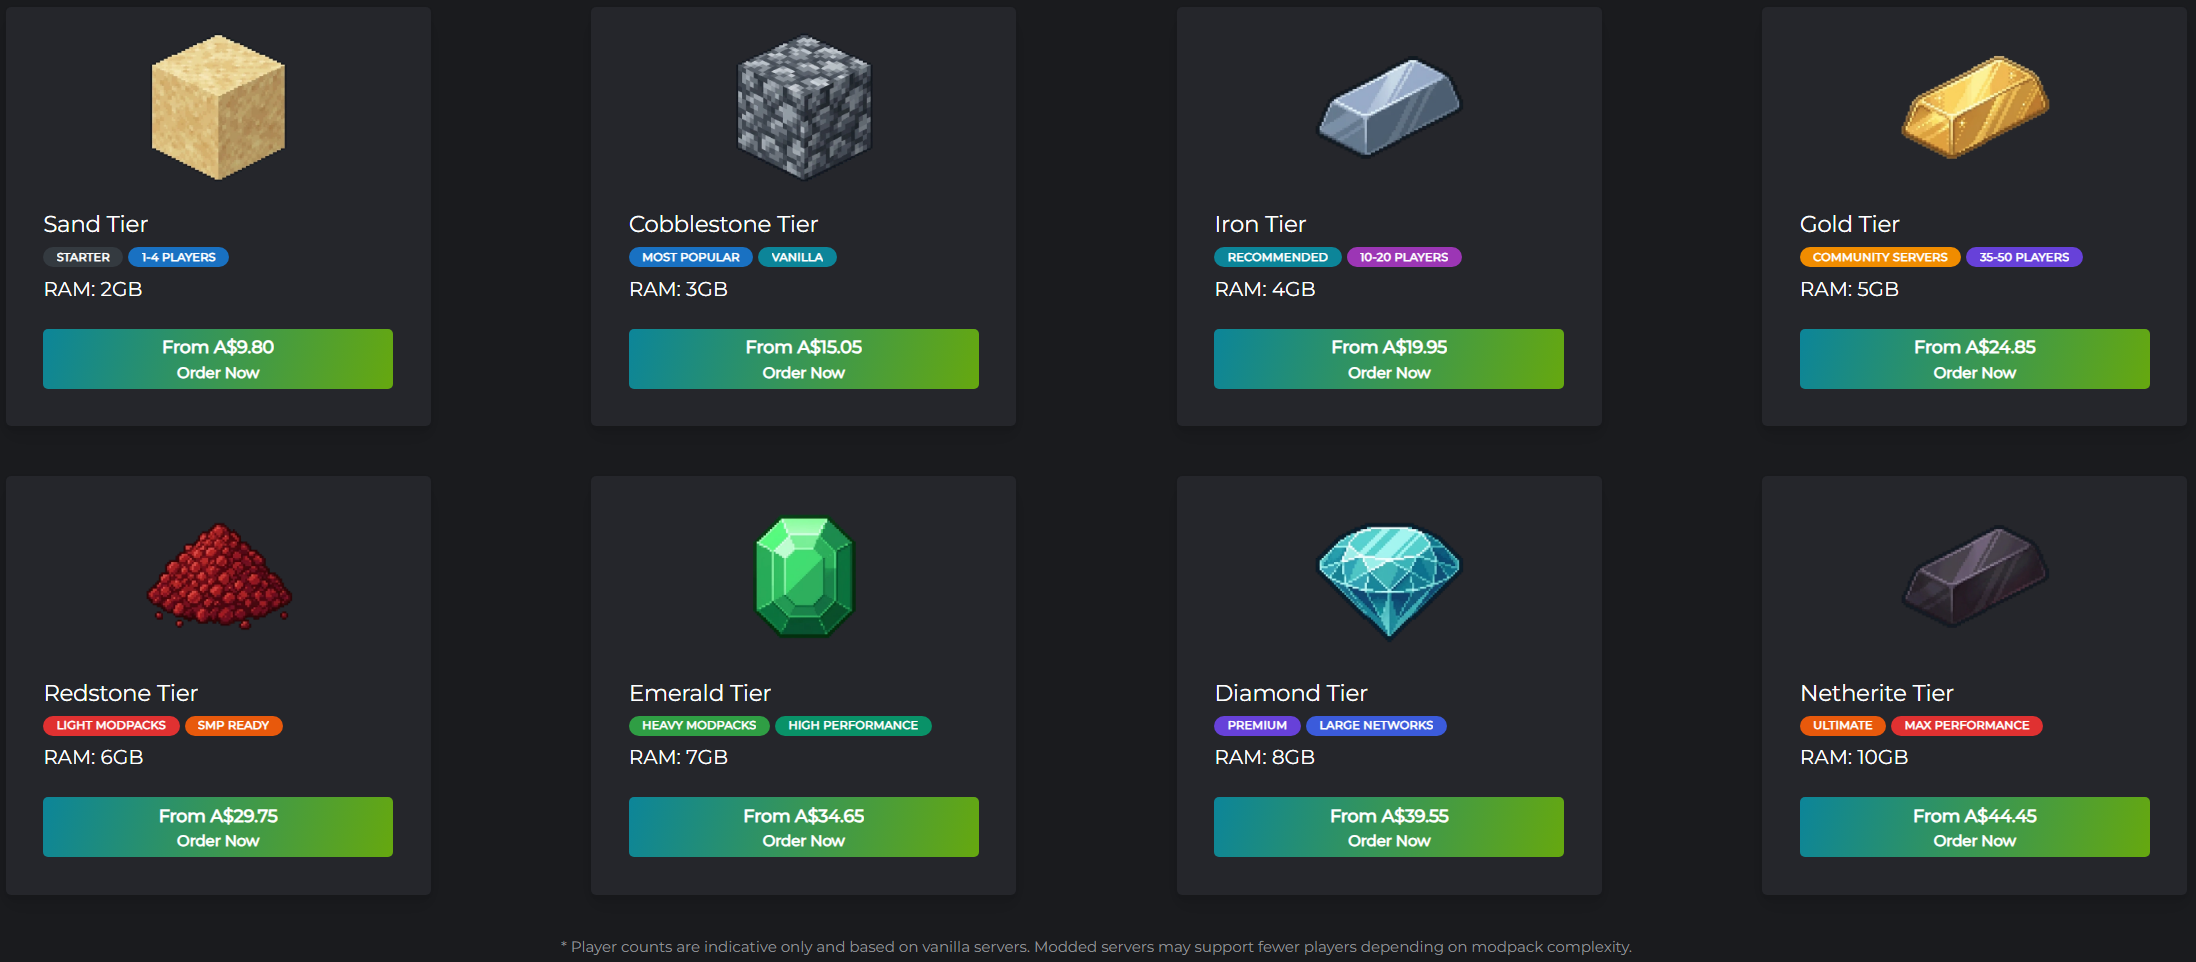
This guide walks through purchasing a Minecraft server on MCHosts, from choosing a plan to your server being online.
Step 1 - Choose a plan
Go to mchosts.com.au/plans and compare the available tiers. The main differences between plans are RAM. More RAM lets you run more players, heavier modpacks, and more plugins without lag.
Click Order Now on the plan you want.
Step 2 - Choose your server software
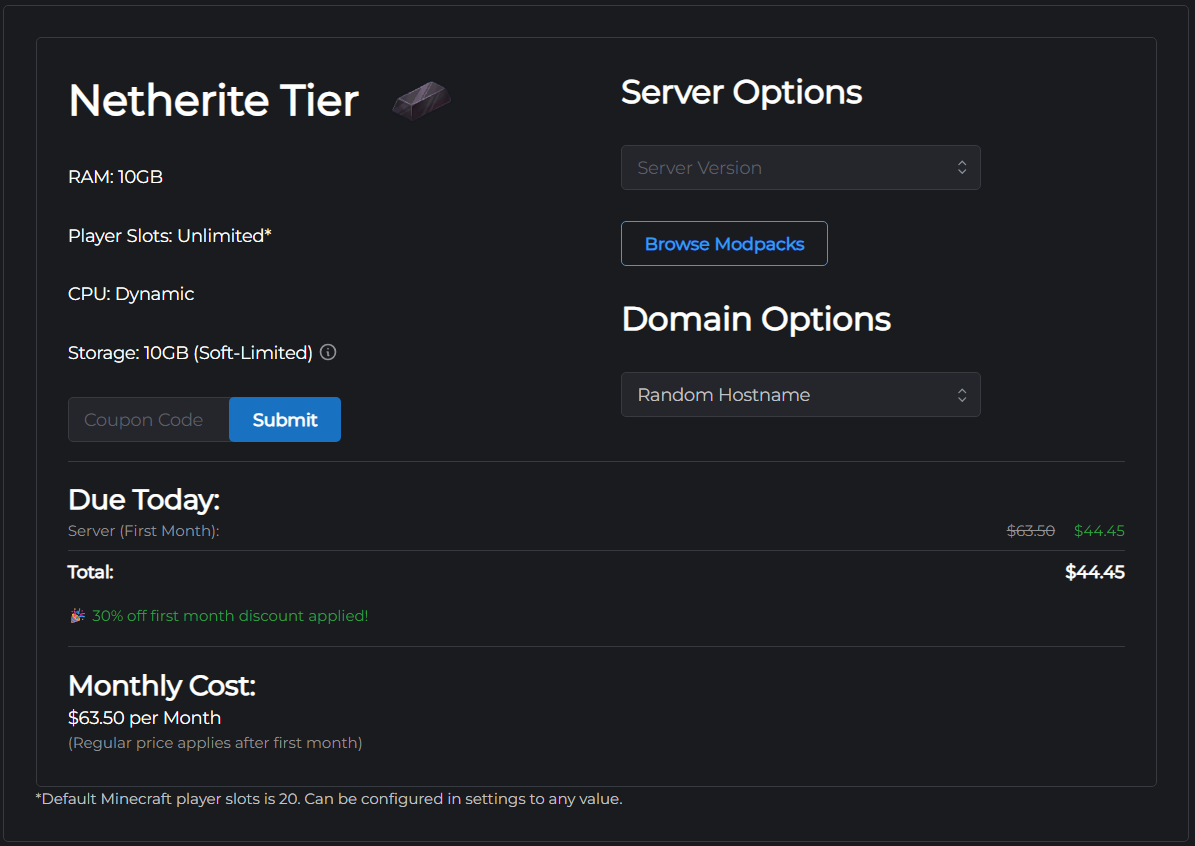
On the checkout page, select the type of Minecraft server you want:
| Option | Description |
|---|---|
| Vanilla | The official Minecraft server - pure, no extras |
| PaperMC | Vanilla + support for plugins (recommended for most servers) |
| Forge | Mod support for classic Forge modpacks |
| Fabric | New mod support |
| NeoForge | Modern Forge fork for newer modpacks |
If you want to install a modpack, click Select ModPack and search for it by name. The modloader (Forge / Fabric / NeoForge) is set automatically based on the pack you choose.
Not sure which to pick? See Server Types.
Step 3 - Choose a subdomain
Your server address will be <yourchoice>.mchosts.co. Pick something memorable.
Rules:
- Letters, numbers, and hyphens only
- Cannot be a reserved word (common brand names, country names, server software names, etc.)
- Must not already be taken by another server
Step 4 - Apply a coupon (optional)
If you have a coupon code, enter it in the Coupon Code field. Valid coupons are applied to your first invoice automatically.
Step 5 - Enter payment details
MCHosts uses Stripe for secure payment processing. Enter your card details in the payment form.
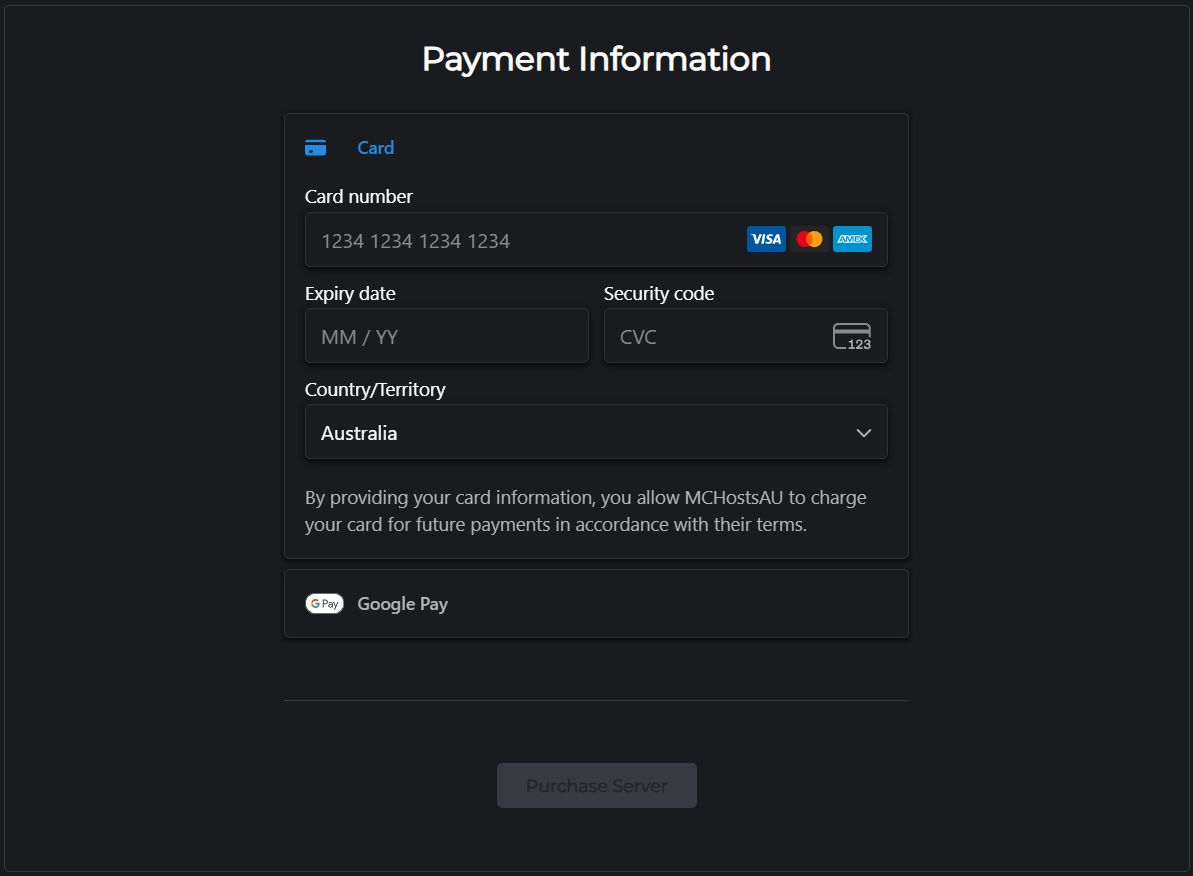
Your subscription bills monthly from the date of purchase and renews automatically. You can cancel at any time from your account settings.
After purchase
- Your server is provisioned automatically - this typically takes 1–2 minutes
- You will receive a confirmation email
- Your server address will be
<yoursubdomain>.mchosts.co - Log in to the control panel to start and manage your server