Setting Up a Minecraft Network With a Proxy
A proxy puts one address in front of several Minecraft servers. Players join the proxy, it sends them to a server, and they can move between your servers without leaving the game. This guide takes you from a new proxy to a working network.
What you need
- A Proxy plan from mchosts.com.au/plans/velocity. Lobby is 1GB, Network is 2GB.
- At least one Paper server on your MCHosts account, which is what this guide covers. Forge and Fabric servers need a mod to sit behind a proxy. A Vanilla server works behind one, but its players show up without their real accounts or IP addresses.
Your proxy runs Velocity, the proxy software PaperMC makes, and keeps itself on the newest stable release every time it starts. There's nothing to install.
1. Add your servers to the proxy
Open your proxy in the control panel and go to the Config tab. In the Servers card, click Add my server and pick a server from your account. It gets a short name taken from its address, which you can change. Names are what the proxy calls each server, so keep them simple, like lobby and survival.
Do the same for each server you want on the network, then click Save Changes.
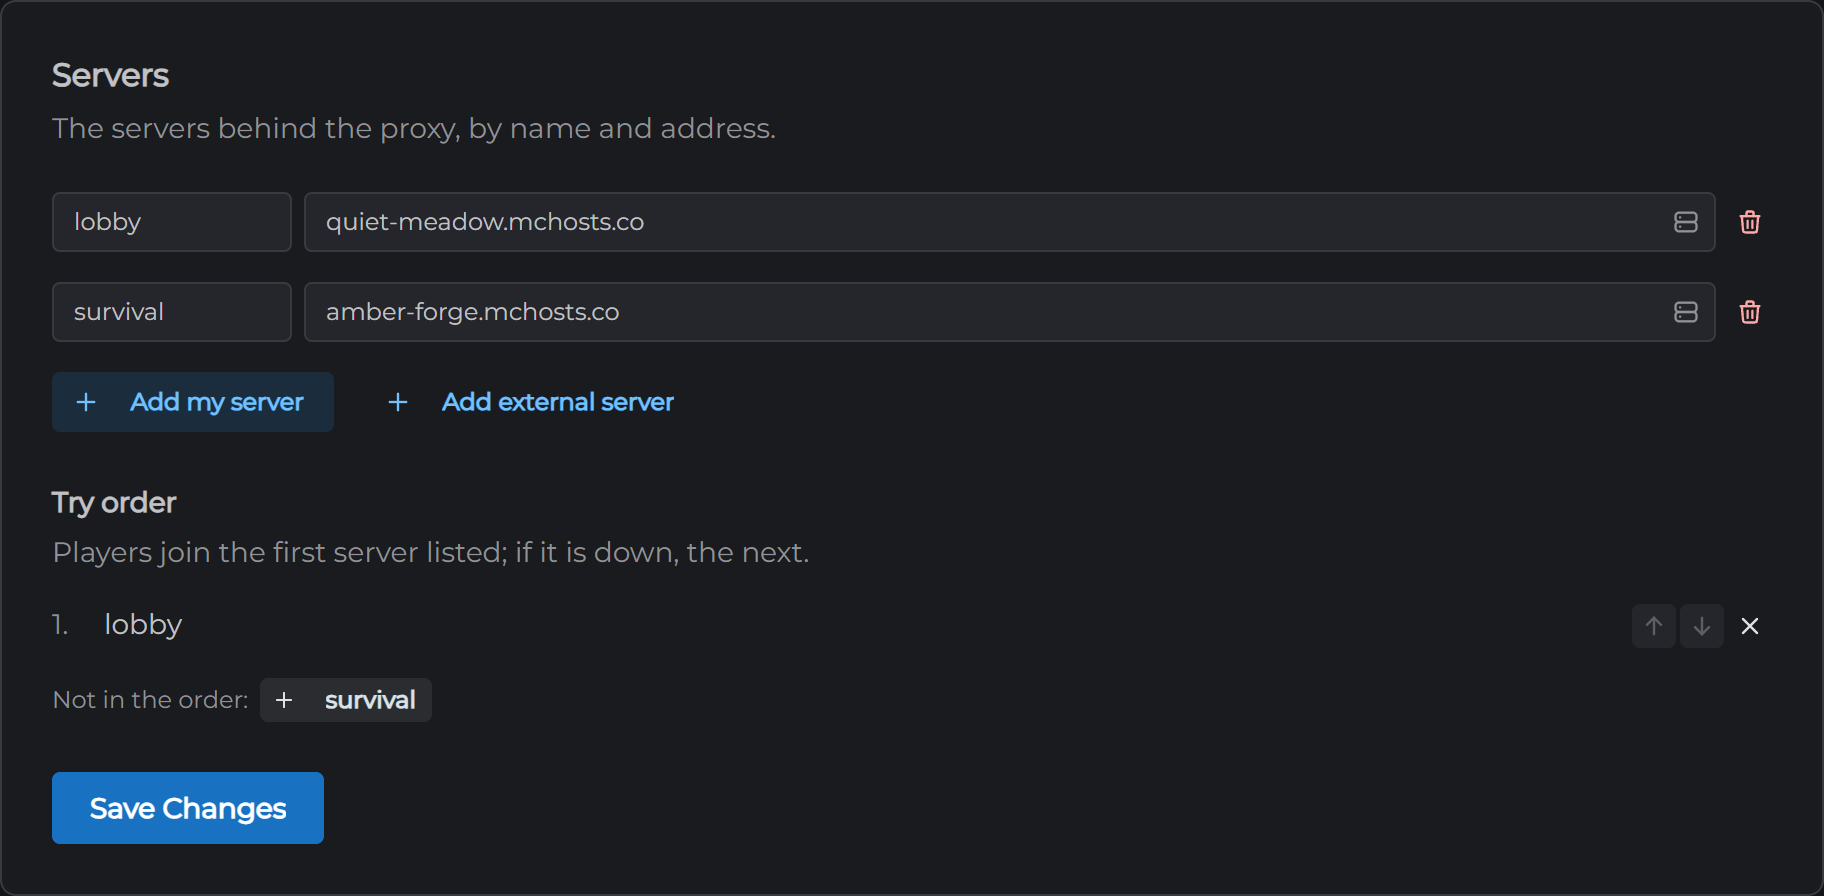
A server hosted somewhere else goes in with Add external server. Type its public address, with a port after a colon if it isn't 25565.
2. Set the landing order
The Try order list is where players land when they join. The first server in the list gets them. If it's down, the proxy tries the next one. Use the arrows to reorder it, and the X to take a server out of the list. A minigame server usually comes out, so nobody lands on it by accident.
Click Save Changes again.
3. Copy the forwarding secret
The Forwarding secret card holds a password your servers use to trust the proxy. Click the eye to see it, or the copy button beside it. You'll paste it into each server in the next step. Keep it to yourself.

4. Switch each server to accept the proxy
Now open one of your Paper servers in the control panel. On its Config tab, scroll to the Behind a proxy card at the bottom. Turn on Accept players from a proxy, paste the secret, and click Save Changes. Then restart that server.
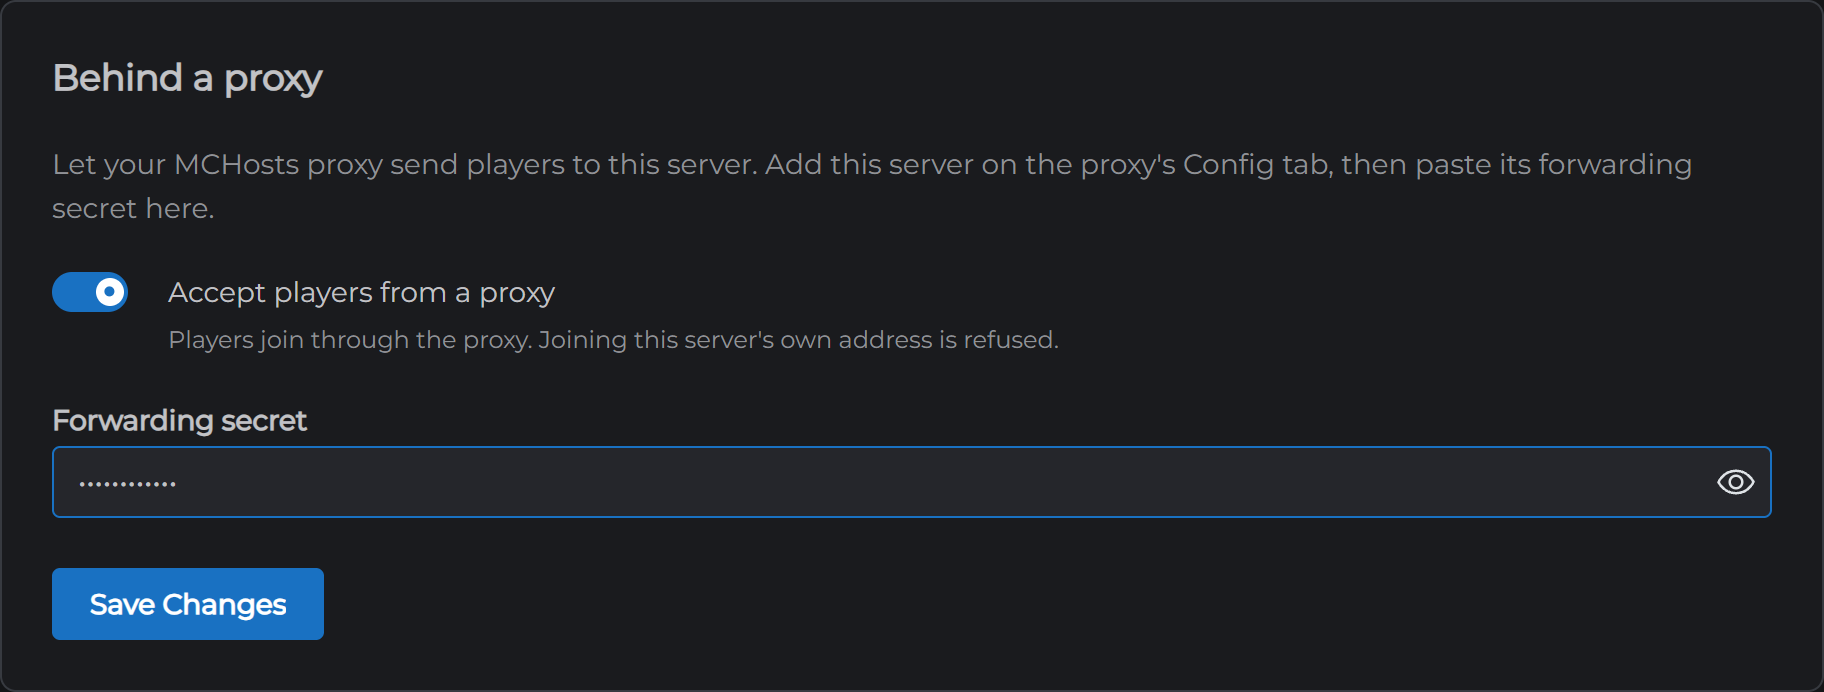
Repeat for every server on the network. Each one needs the same secret.
Once a server accepts players from the proxy, joining it by its own address is refused. That's deliberate. The proxy checks who each player is, then passes that on, and a server that took direct joins as well could be fooled. Players use the proxy's address from now on.
5. Join
Add the proxy's address to your Minecraft server list and join. You'll land on the first server in your landing order.
Back in the control panel, the proxy's Players tab shows everyone on the network and which server each is on. The Send to button moves a player to another server without them leaving the game.
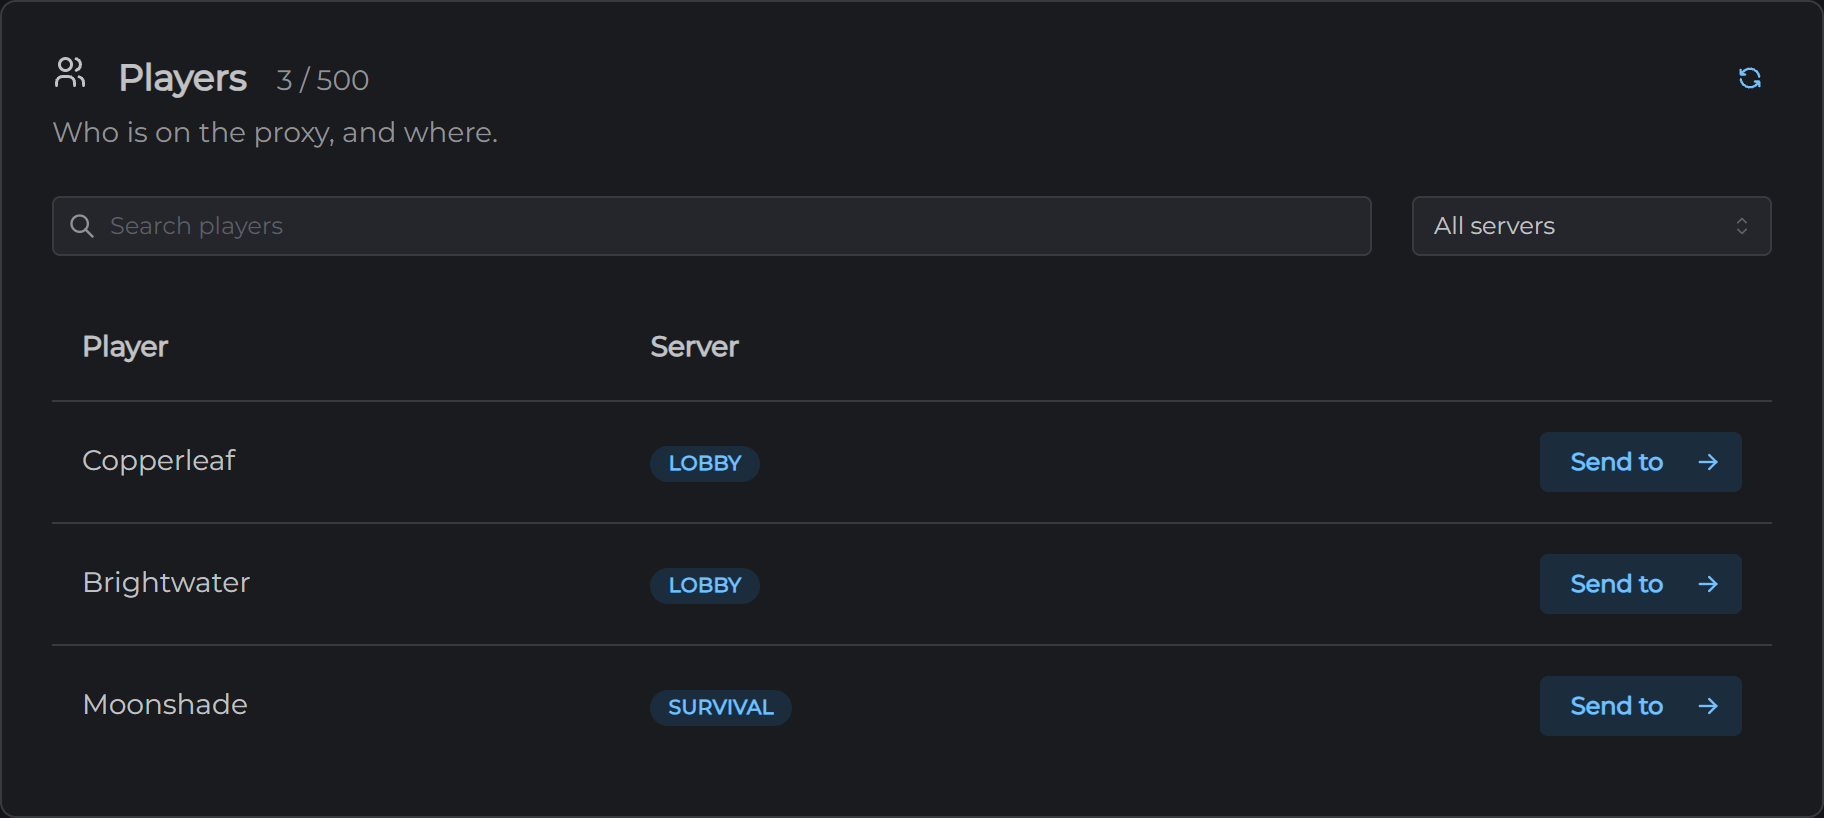
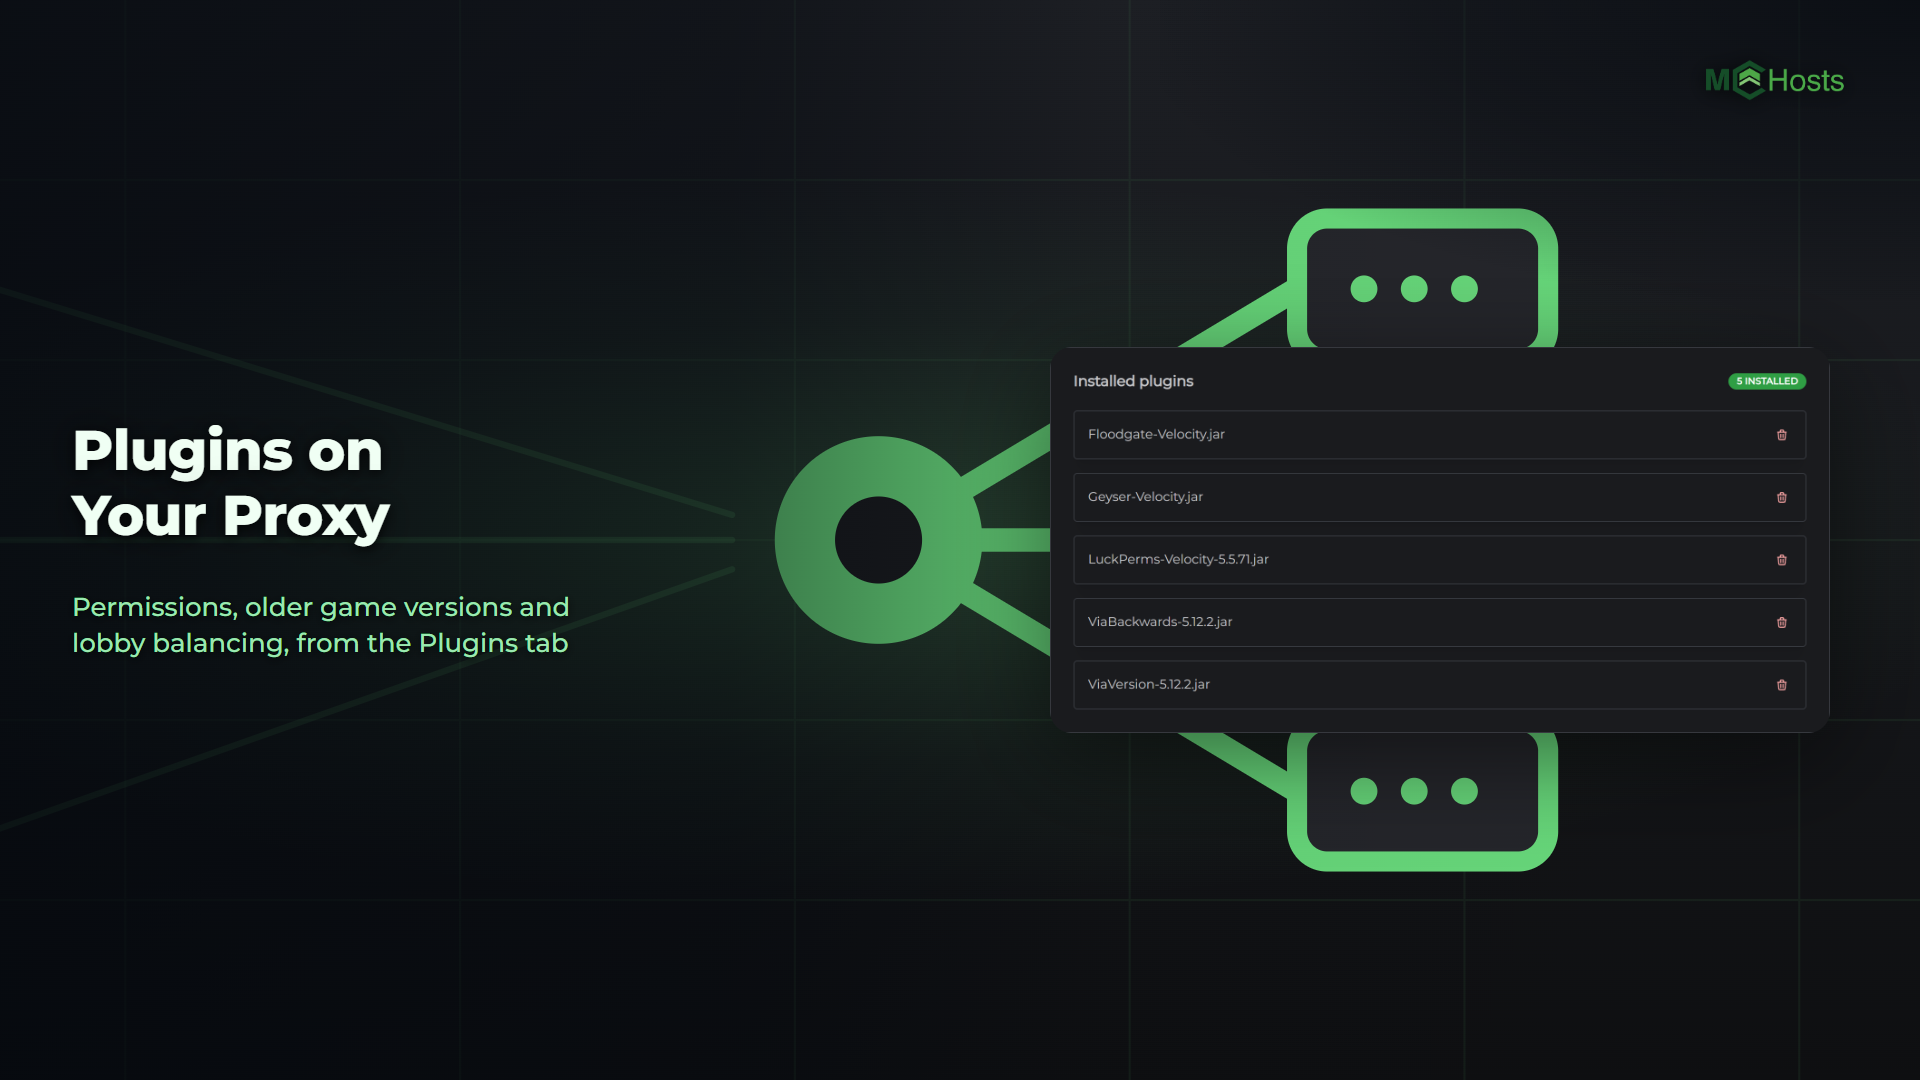
In the game, /server survival moves a player to another server by name. That command needs a permission, which a permissions plugin on the proxy gives out. Plugins on Your Proxy covers it.
Backups and restarts
Your proxy has the same Backups, Scheduled Restart and Crash Alerts cards as a Minecraft server. A backup of the proxy holds its settings, its secret and its plugins. Your worlds live on the servers behind it, so keep backing those up as you do now.
What's next
- Bedrock Players on Your Network lets phones, consoles and Windows Bedrock join through the proxy.
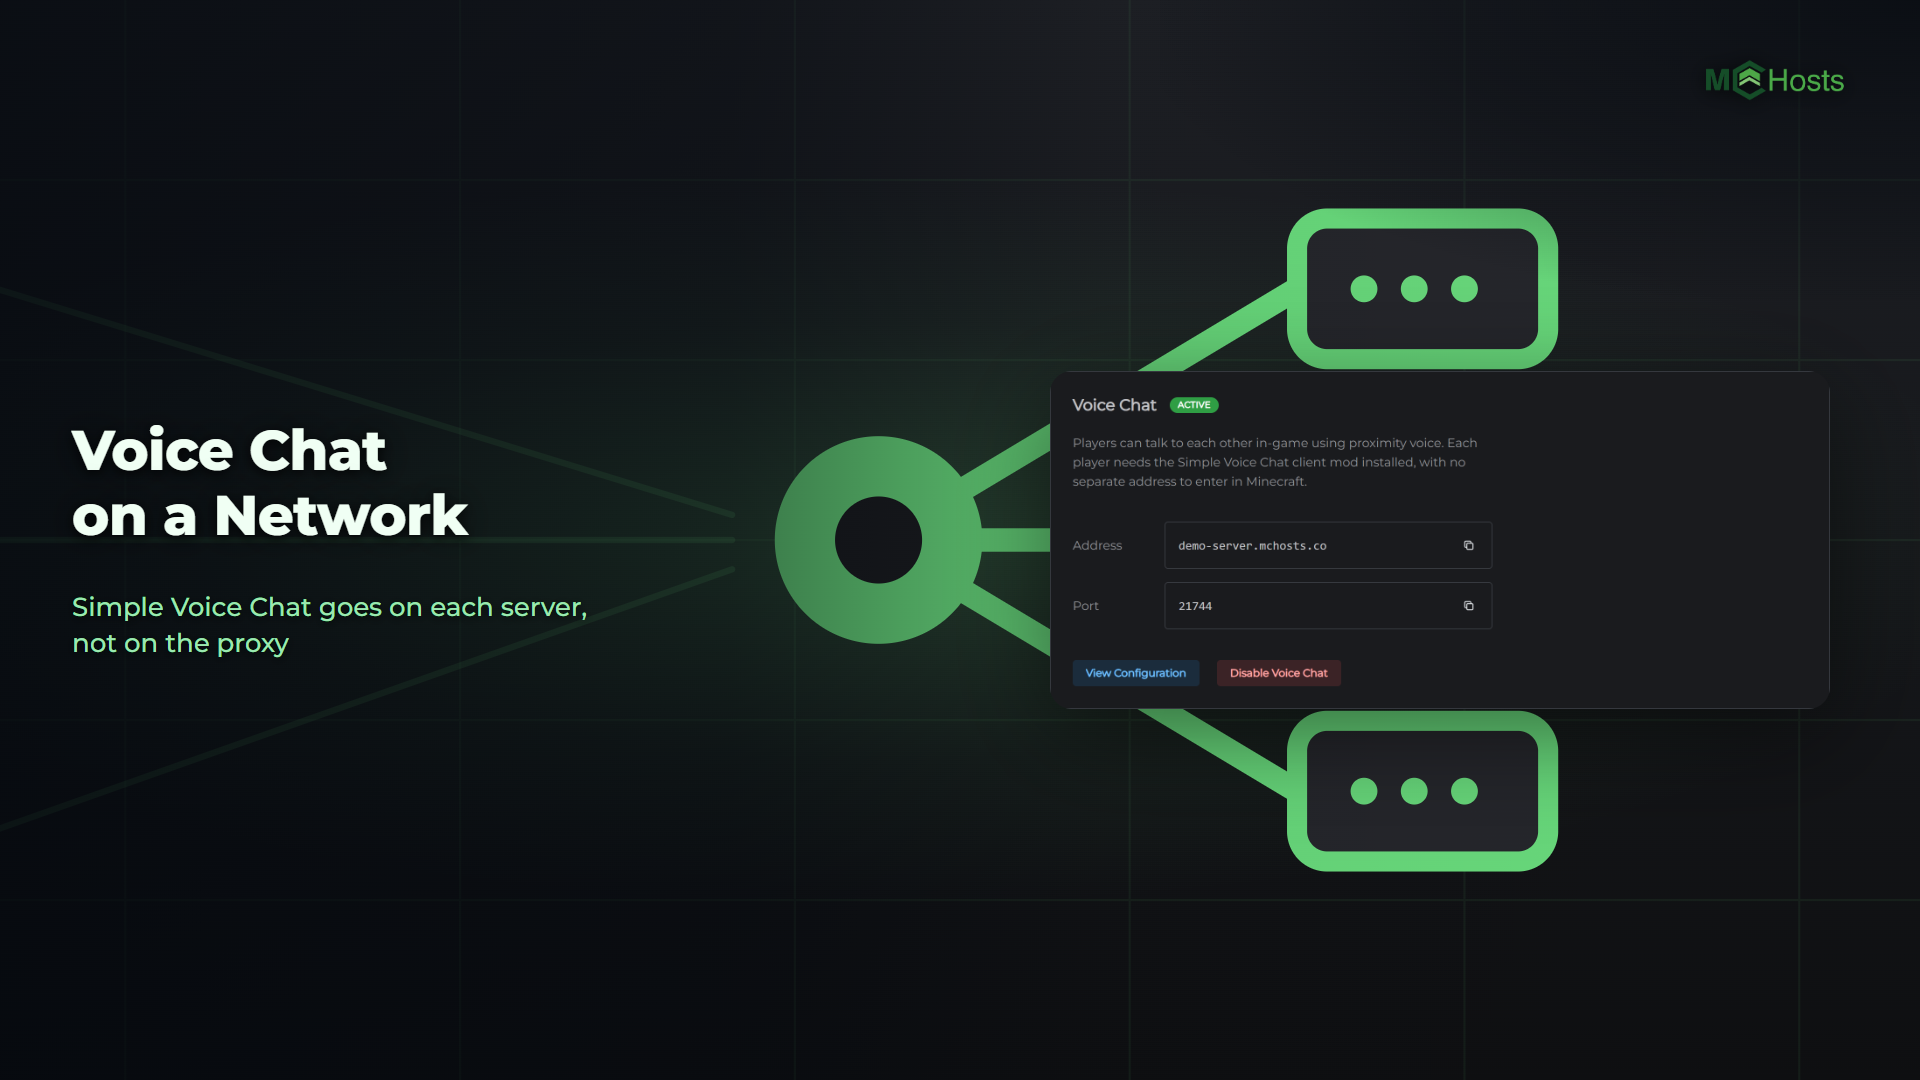
- Voice Chat on a Network sets up Simple Voice Chat behind a proxy.
- Plugins on Your Proxy adds permissions, older client support and a lobby balancer.