Plugins on Your Proxy
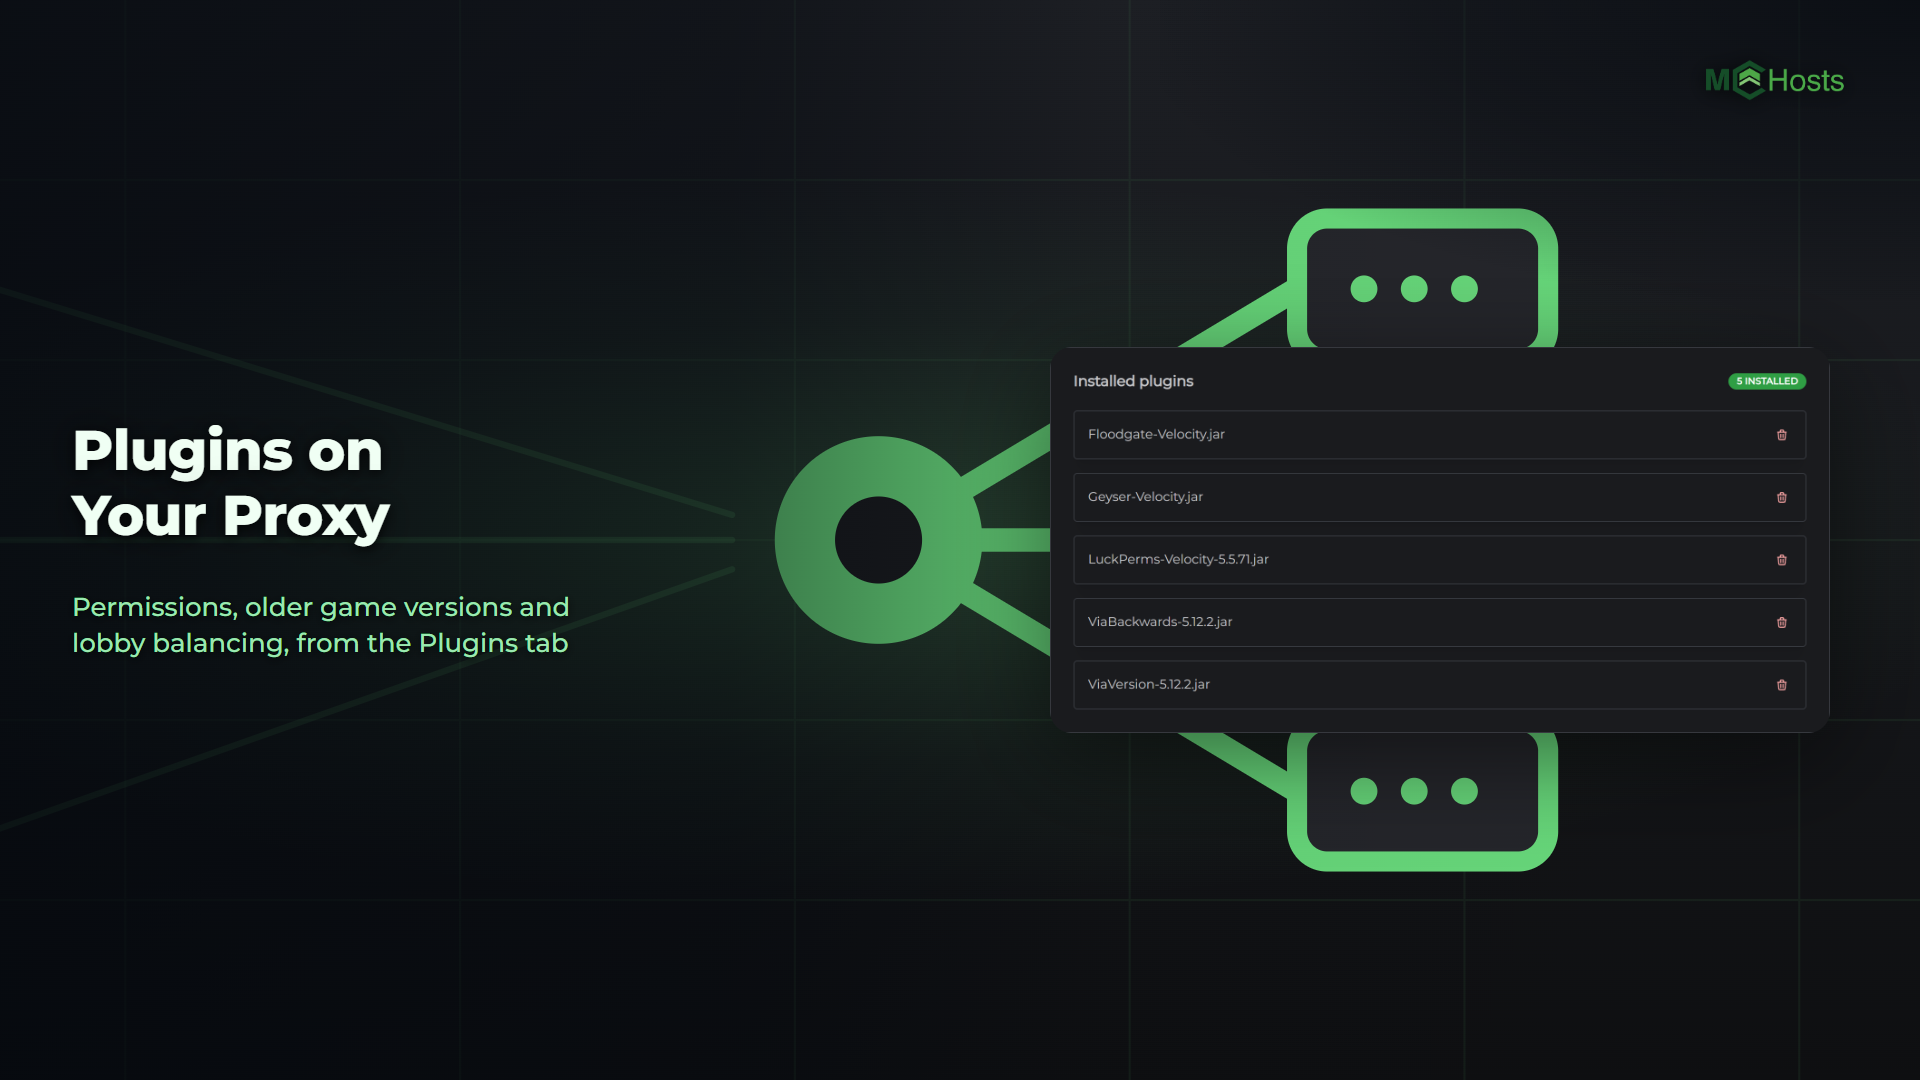
A proxy on its own moves players between servers and that's all. Everything else a network does, like permissions, letting older game versions in, or spreading players across lobbies, comes from plugins. This guide covers where they go, how to install them, and the three most networks start with.
Proxy plugins and server plugins
A plugin either runs on the proxy or on a server behind it, and the two don't mix.
- On the proxy: things that apply to the whole network. Permissions, letting older clients join, lobby balancing, a shared tab list, network-wide chat.
- On a server: gameplay. A hub menu that sends players to a game, the minigame itself, economy plugins, world tools. These go on that server's own Plugins tab as they always have.
A proxy plugin is built for Velocity. A Paper plugin dropped onto the proxy won't load, and the other way round.
1. Install from the Plugins tab
Open your proxy in the control panel and go to the Plugins tab. Search Modrinth, or switch to Hangar, PaperMC's own plugin site. Click Install on a result and it downloads into your proxy's plugins folder.
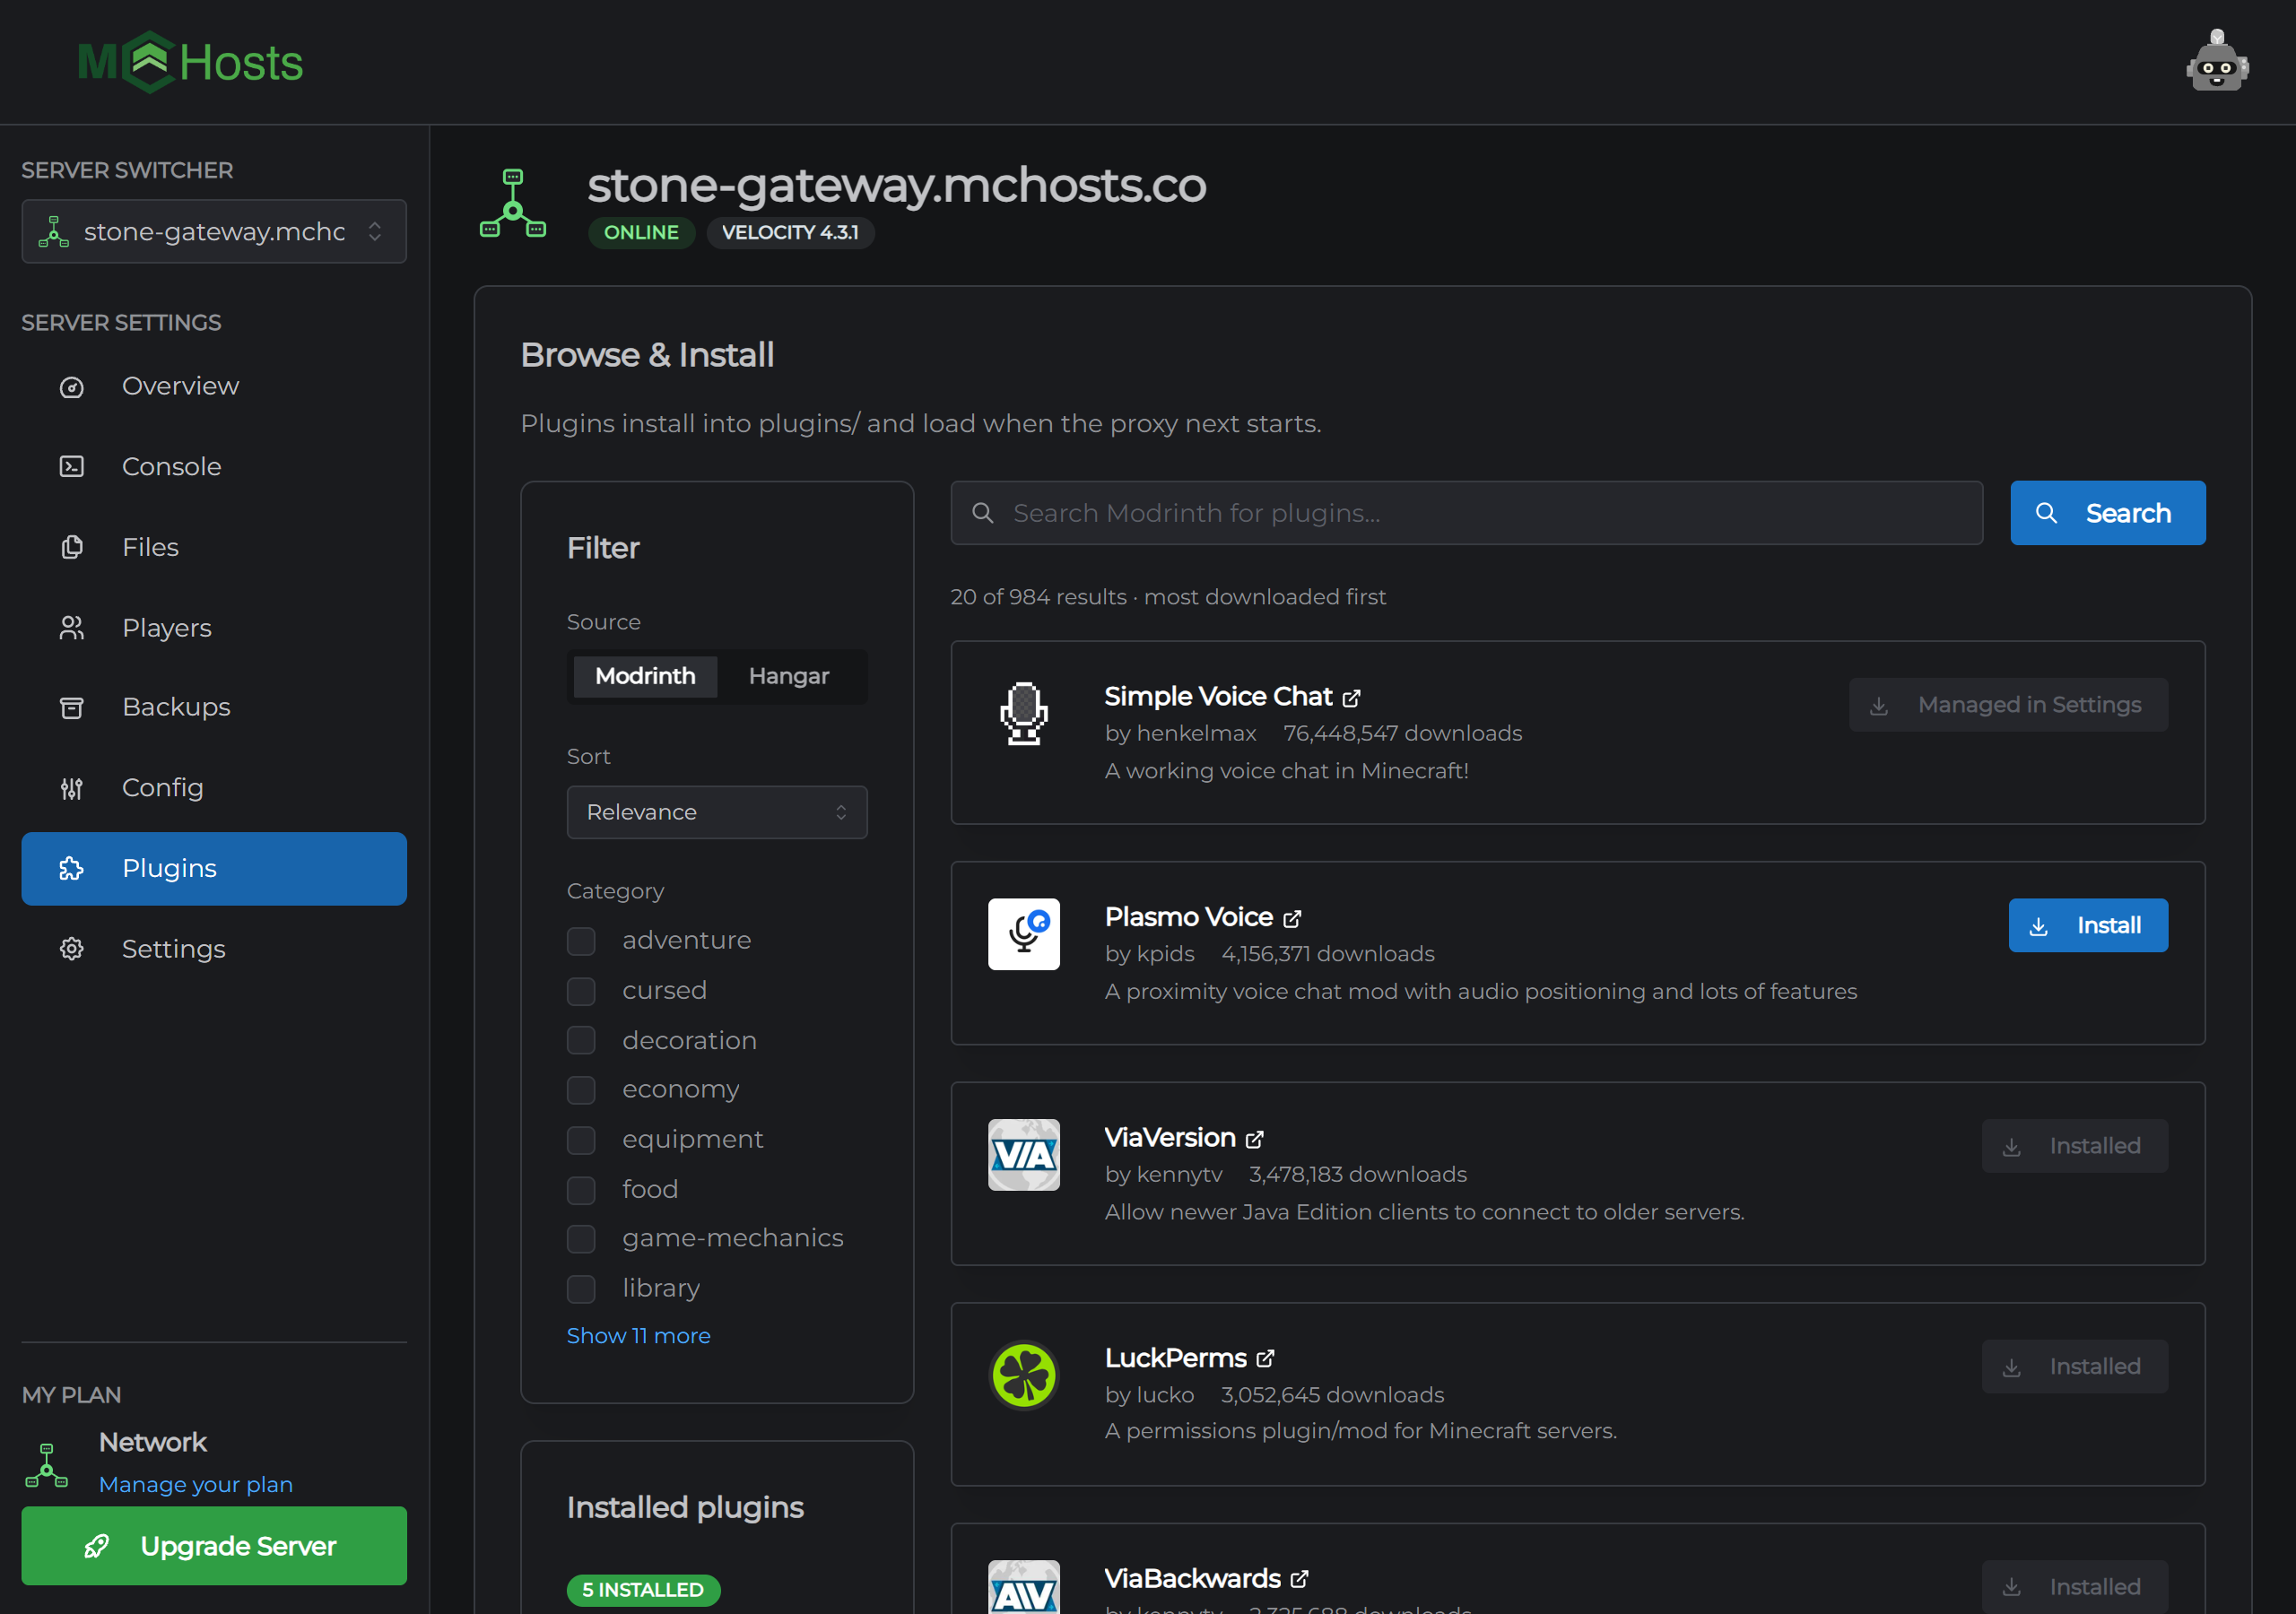
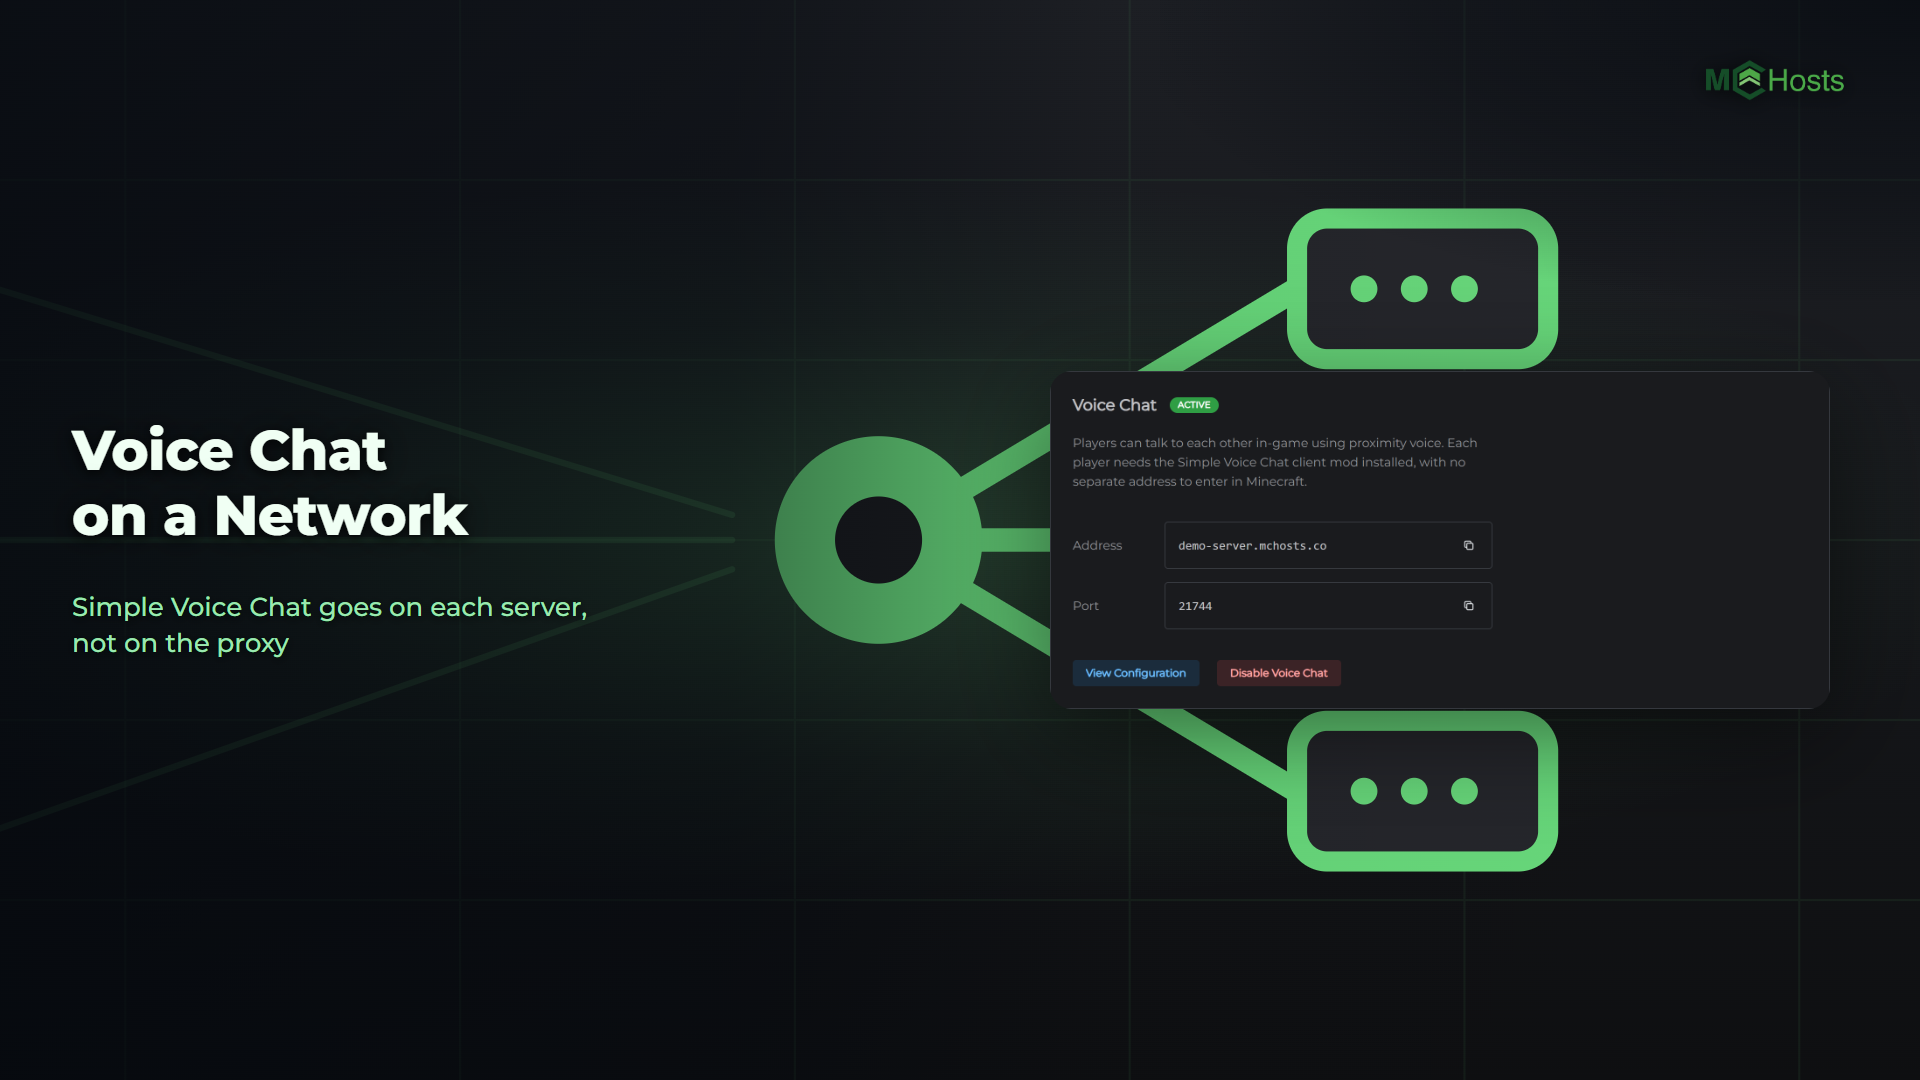
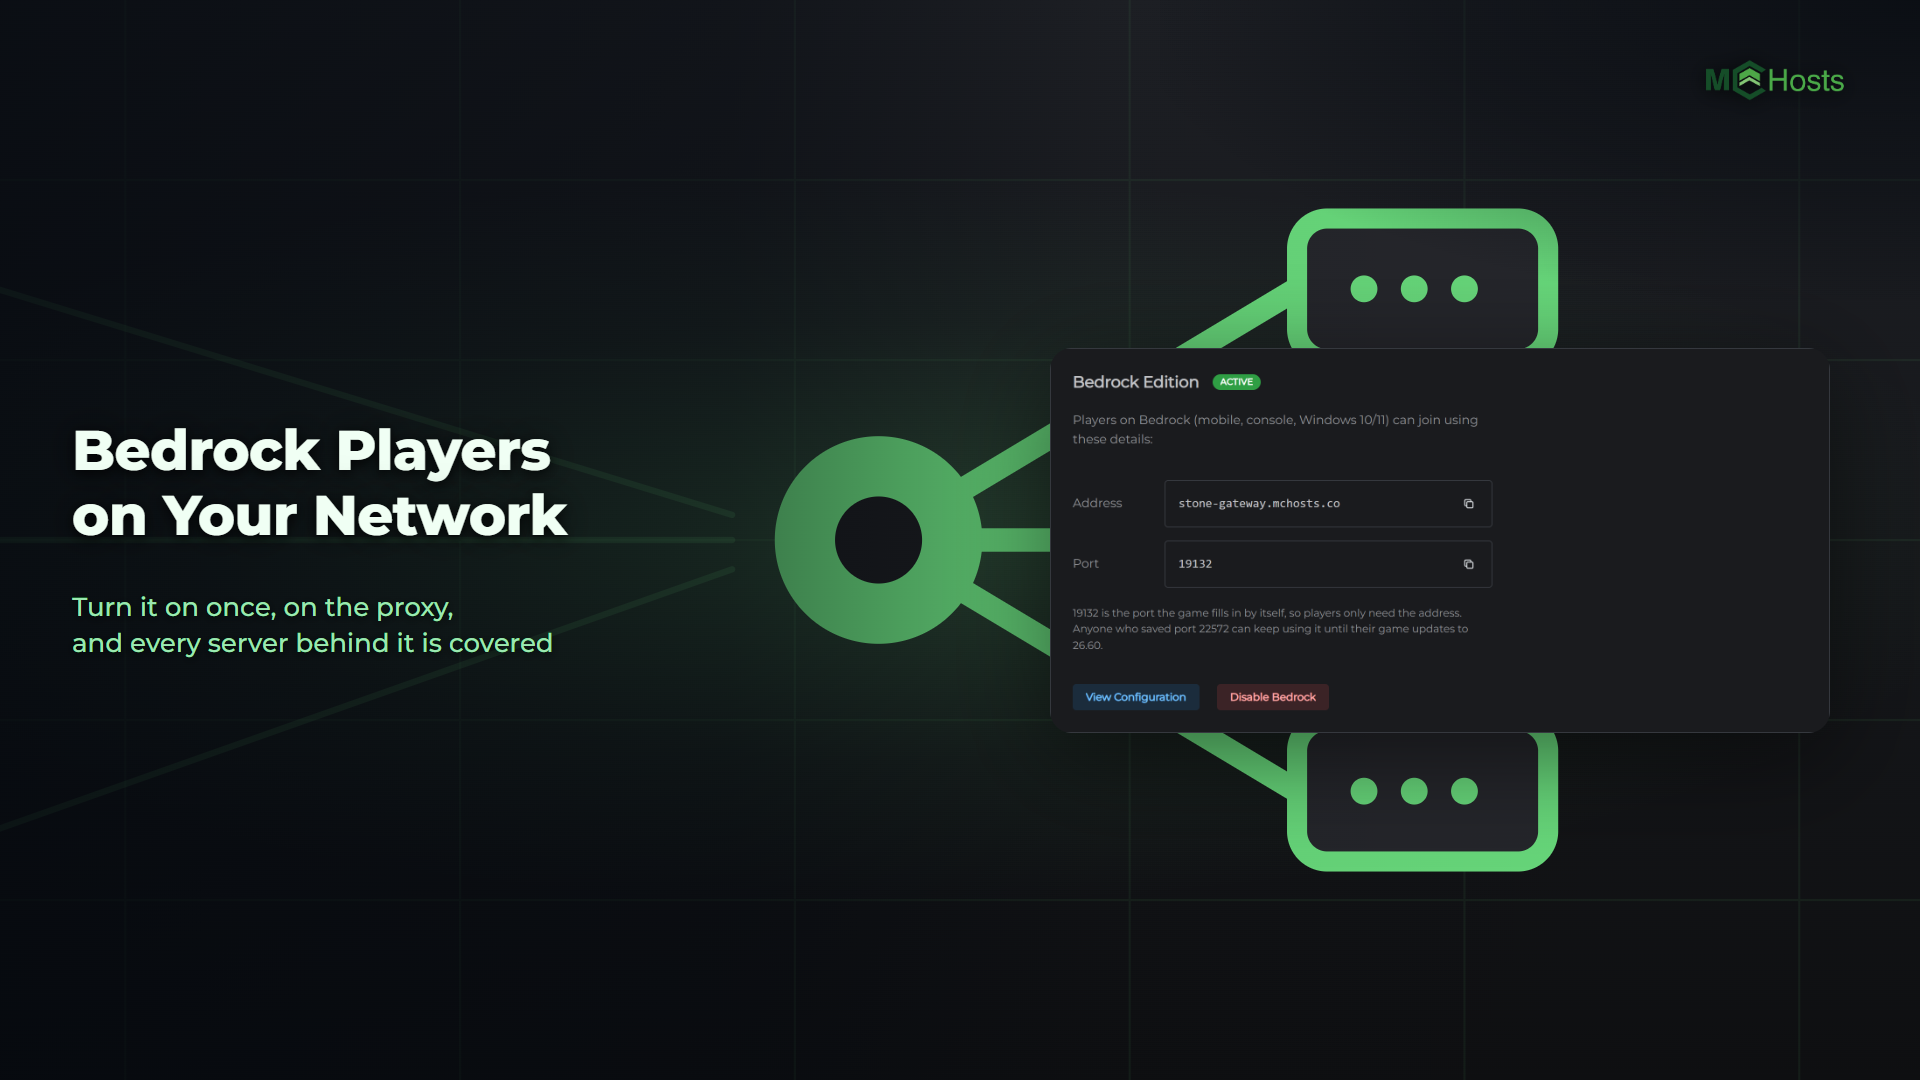
The Installed plugins list on the left shows what's on the proxy. Geyser, Floodgate and Simple Voice Chat are managed from the Settings tab's Bedrock and Voice Chat cards, so they show as Managed in Settings rather than Install.
Installing doesn't load a plugin. Click Restart to apply when you've added what you want. The console prints a line for each plugin as it loads, and a plugin that fails prints in red there.
2. Permissions with LuckPerms
LuckPerms gives players permissions across the network. On the proxy its command is lpv, not lp, so it never clashes with a LuckPerms on one of your servers.
To let everyone use /server to move between servers, type this in the proxy's console:
lpv group default permission set velocity.command.server true
Players can then type /server survival in the game to move to the server called survival.
3. Older game versions with ViaVersion
Your servers run one Minecraft version. ViaVersion and ViaBackwards on the proxy let players on other versions join anyway. ViaVersion lets a newer client onto an older server. ViaBackwards lets an older client onto a newer server, which is the usual case when a player hasn't updated yet. Install both, ViaVersion first, and restart.
4. Lobby balancing
A plugin like VelocityNavigator spreads players across several lobby servers and gives them a /hub command. It needs to know your lobbies before it will let anyone in, and a fresh install knows none, so set that up straight after installing it.
Its settings file is in the proxy's Files tab under plugins/velocitynavigator/. In navigator.toml, list your lobbies by the names you gave them on the Config tab:
default_lobbies = ["lobby", "lobby2"]
Save the file, then type vn reload in the console.
Things to know
Settings files are on the Files tab. Every plugin writes its settings under plugins/<its name>/ on first start. Edit them there and restart, or use the plugin's own reload command.
A plugin can replace your MOTD. Some plugins answer the server list themselves. If your MOTD stops matching what you set on the Config tab, a plugin has taken it over, and its settings file is where to change it.
We install release builds. If a plugin only has a test build for the current Minecraft version, the panel installs that and tells you so. It's the same build the plugin's own page offers.
A plugin that won't start. The console says why, in red, after the restart. Most often it's a plugin that doesn't support your Velocity version yet. Remove it with the bin icon in the installed list and restart.