Connecting to Your Mumble Server
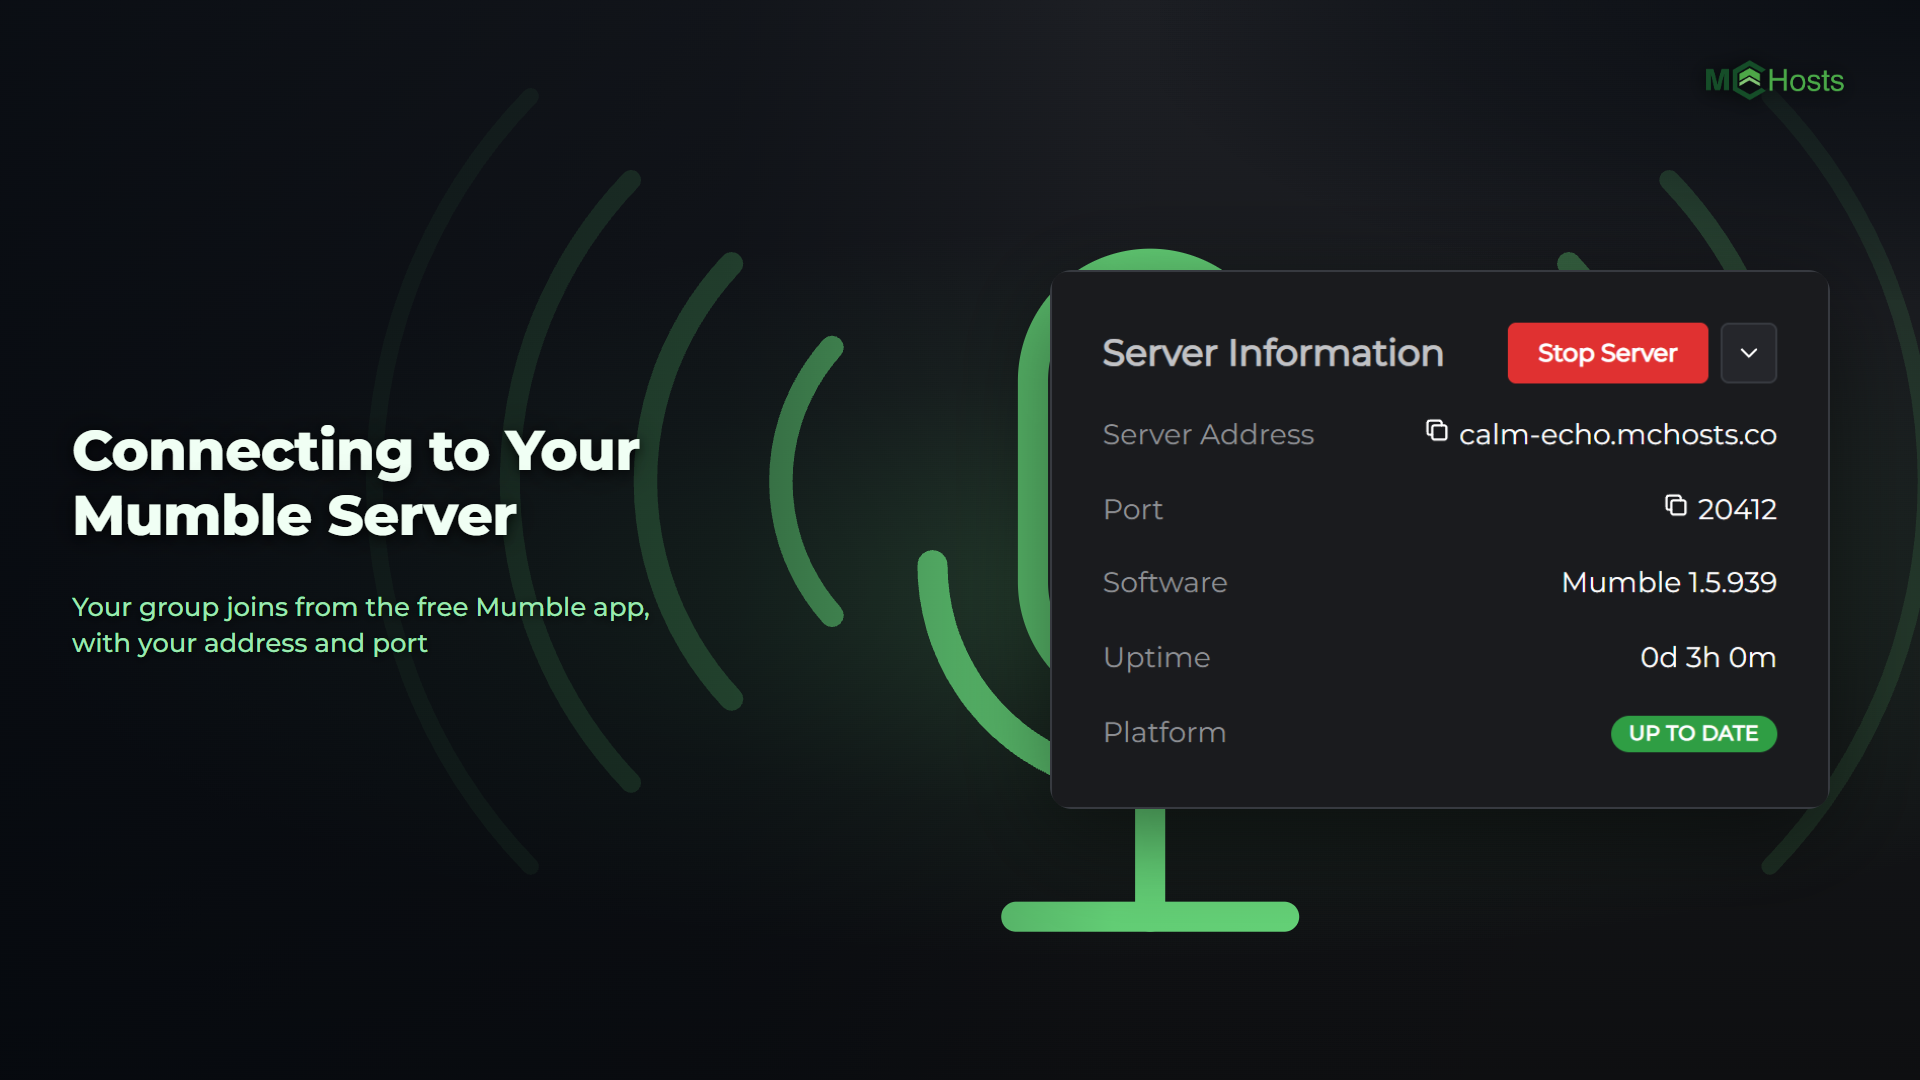
Your group joins your Mumble server from the free Mumble app, with your server's address and port.
Find your address and port
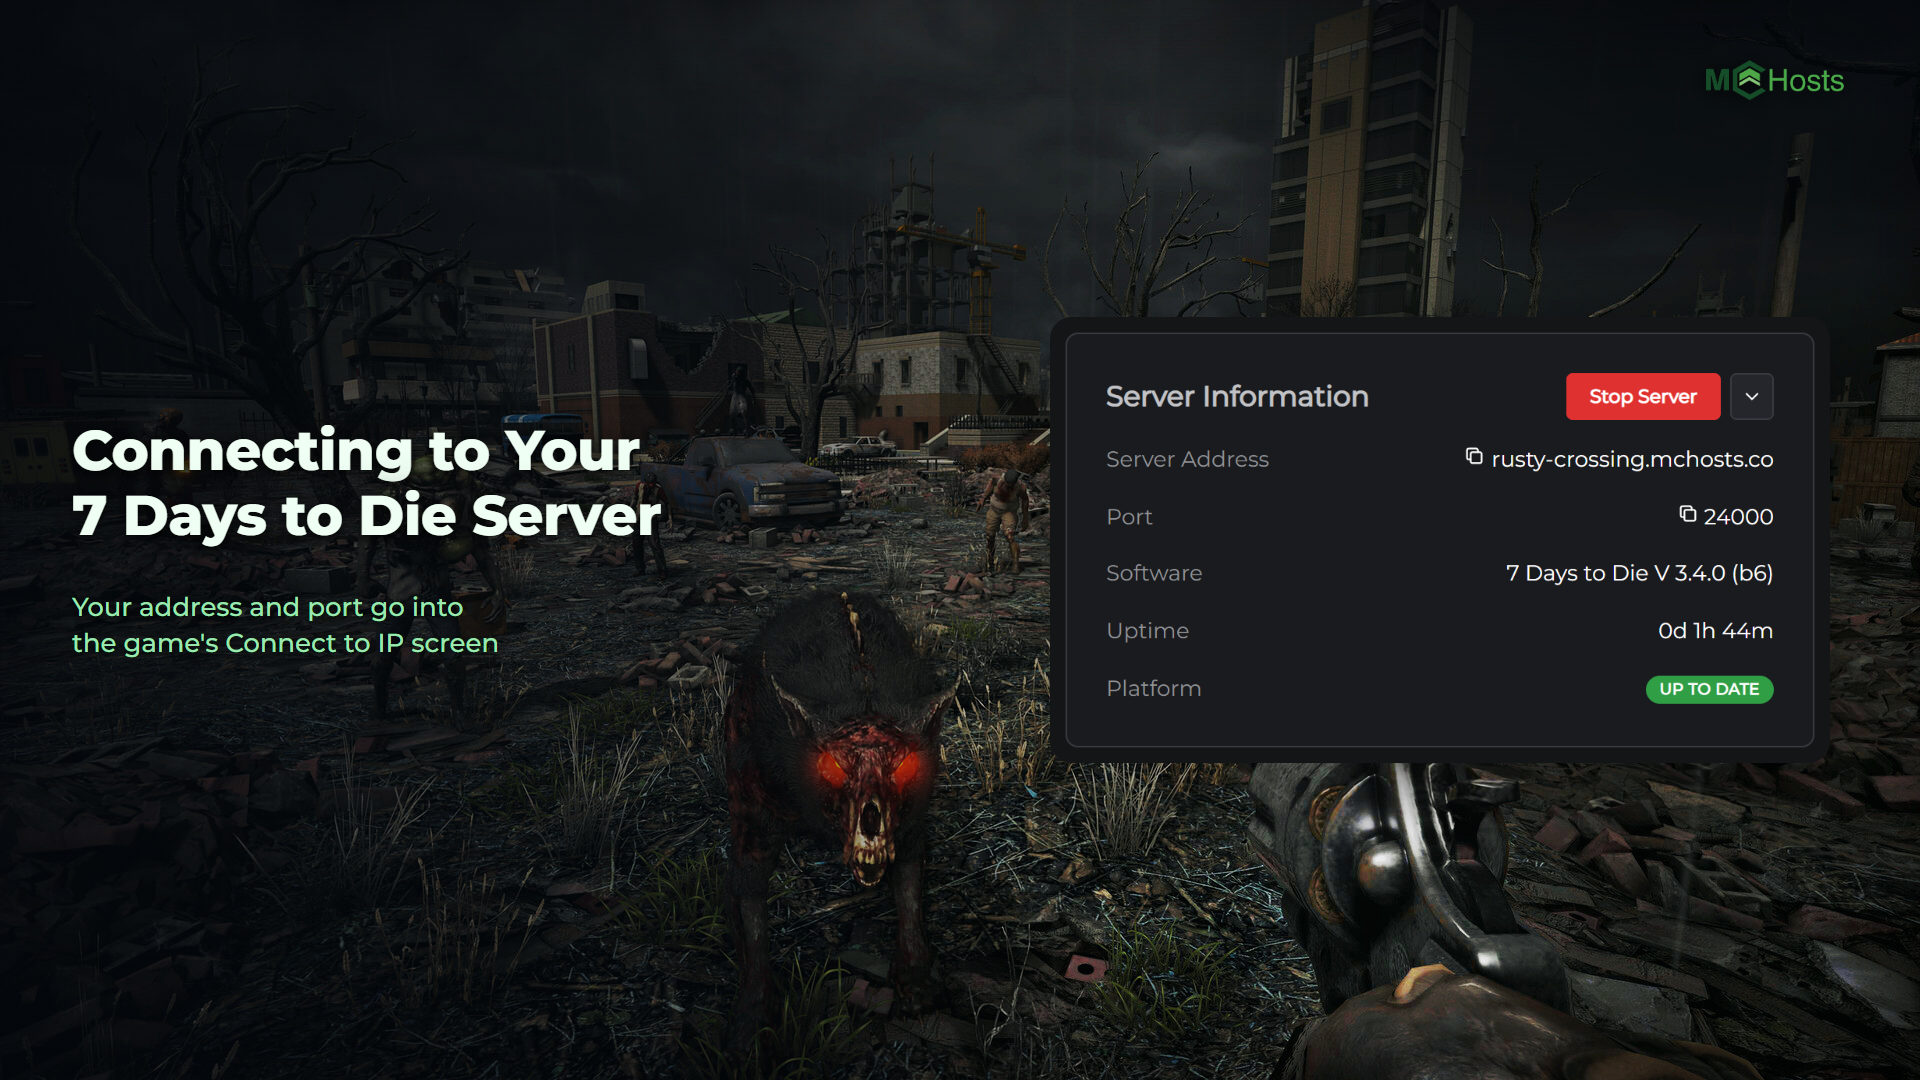
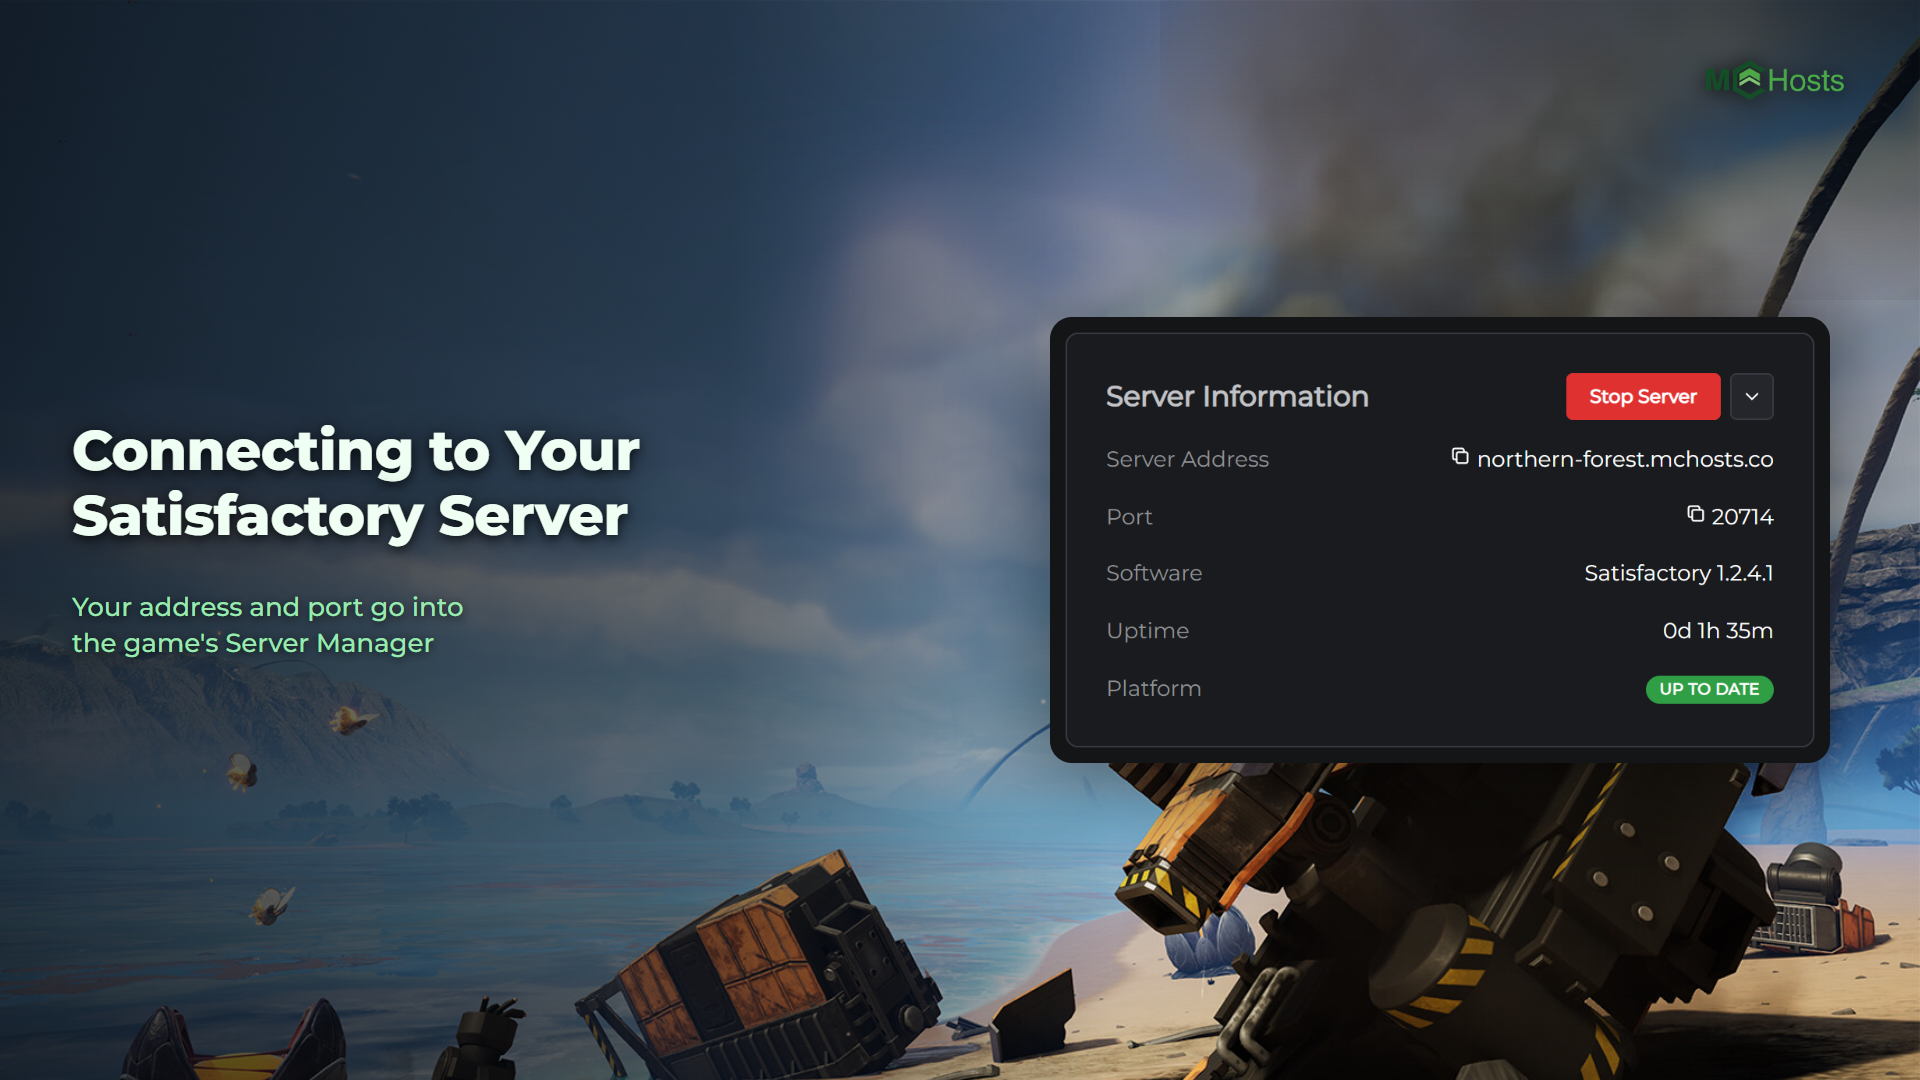
Open your control panel and look at the Overview page. Under Server Information you'll see your Server Address, with your Port on the row below it.
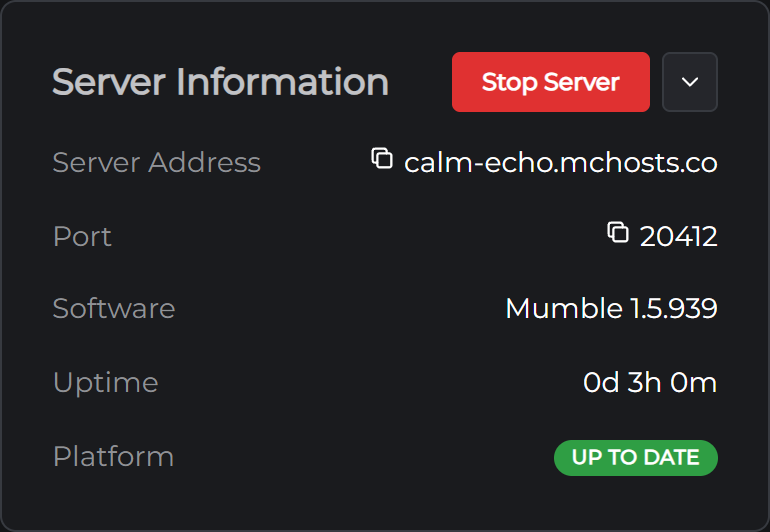
Click either one to copy it. Your group needs both.
Install the Mumble app
Download Mumble from mumble.info/downloads. It's free, for Windows, Mac and Linux.
The first time it opens, Mumble walks you through setting up your microphone. Then it makes a certificate for you, which is how Mumble remembers who you are. Follow its steps. The suggested choices are fine if you're not sure.
Add your server and connect
- In Mumble, open the Server menu and click Connect
- Click Add New...
- Type your Server Address into Address and your Port into Port
- Type the name you want others to see into Username
- If your server has a password, type it into Password
- Give it a Label, like your group's name, and click OK
- Pick your server in the list and click Connect
The first time, Mumble says Server presented a certificate which failed verification and asks if you want to accept it anyway. Click Yes. Your server made its own certificate when it was set up, so the app hasn't seen it before. Mumble keeps it and won't ask again.
See who's on
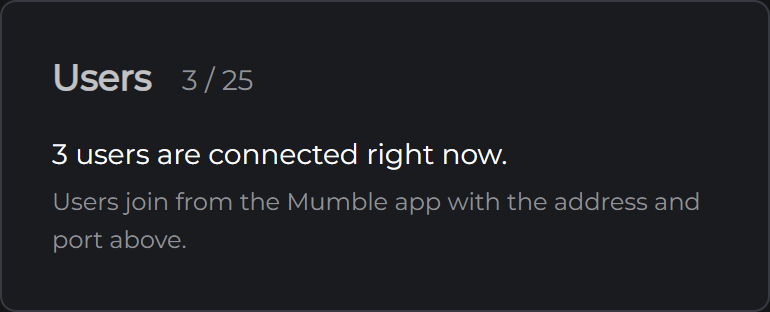
Back on the Overview page, the Users card shows how many users are connected right now, out of your server's limit.
On a phone
Mumble's own app is for Windows, Mac and Linux, and its old iPhone app is no longer updated. Third-party phone apps from other developers can connect to Mumble servers. However, we do not endorse any specific app.
Next, make yourself an admin so you can create channels and look after your users. See Making Admins on Your Mumble Server.