Adding Mods to Your Project Zomboid Server
Your server downloads its own mods from the Steam Workshop, so adding one is a click and two restarts. Here's how, and the one thing that catches everybody out.
Add a mod
Open your control panel and click the Mods tab.
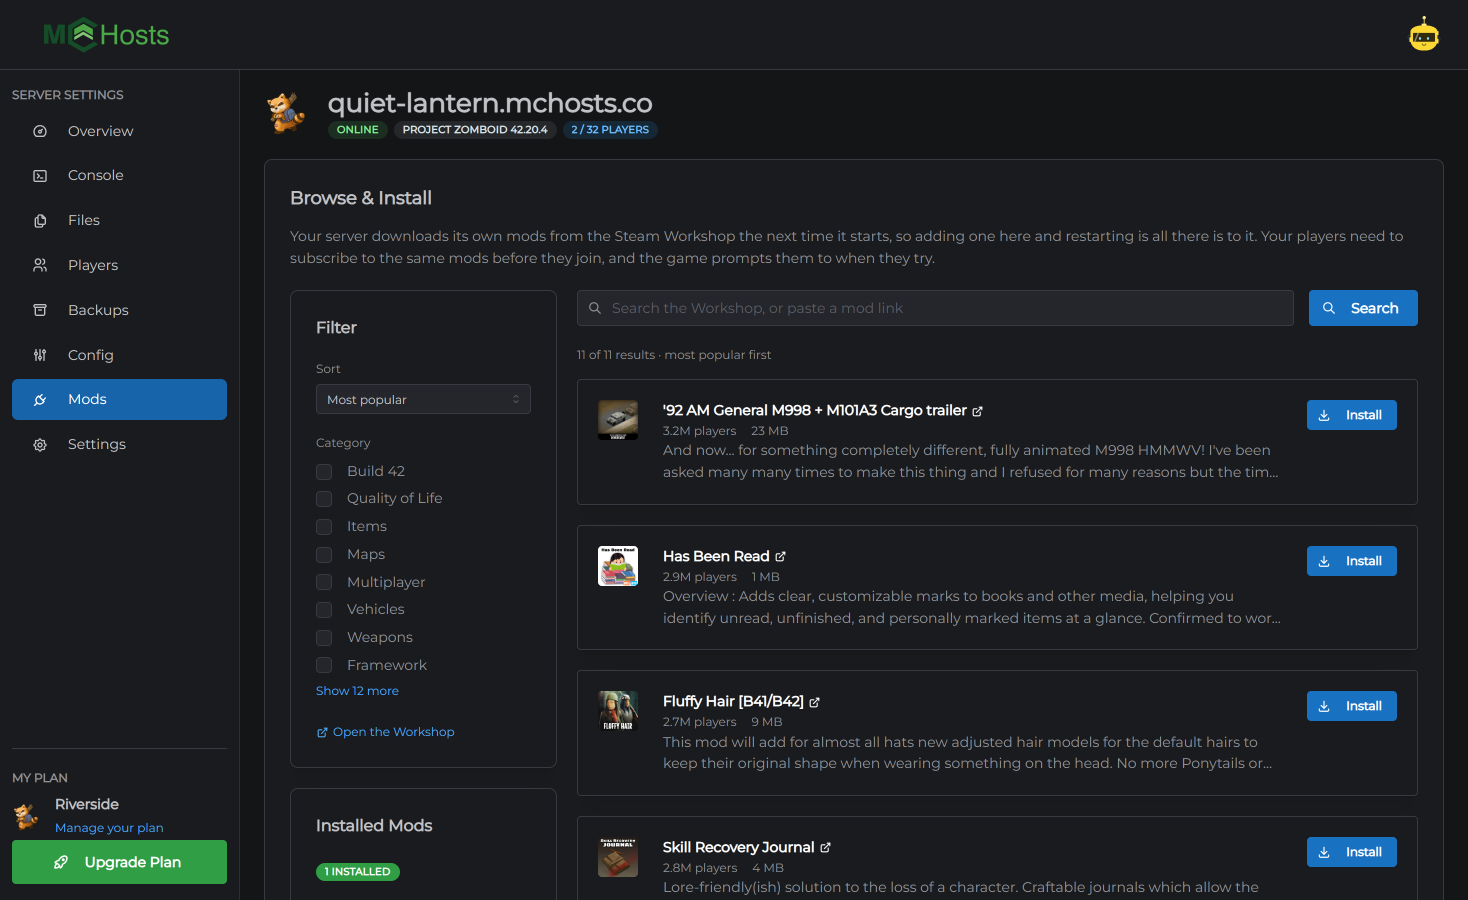
You can find a mod two ways:
Search. Type what you're after in the box at the top. Tick Build 42 in the filter list on the left and you'll only see mods their authors have marked for Build 42, which is the version your server runs.
Paste a link. If somebody sent you a Workshop link, paste the whole thing into the same box. The panel reads it and shows you what it is before anything happens.
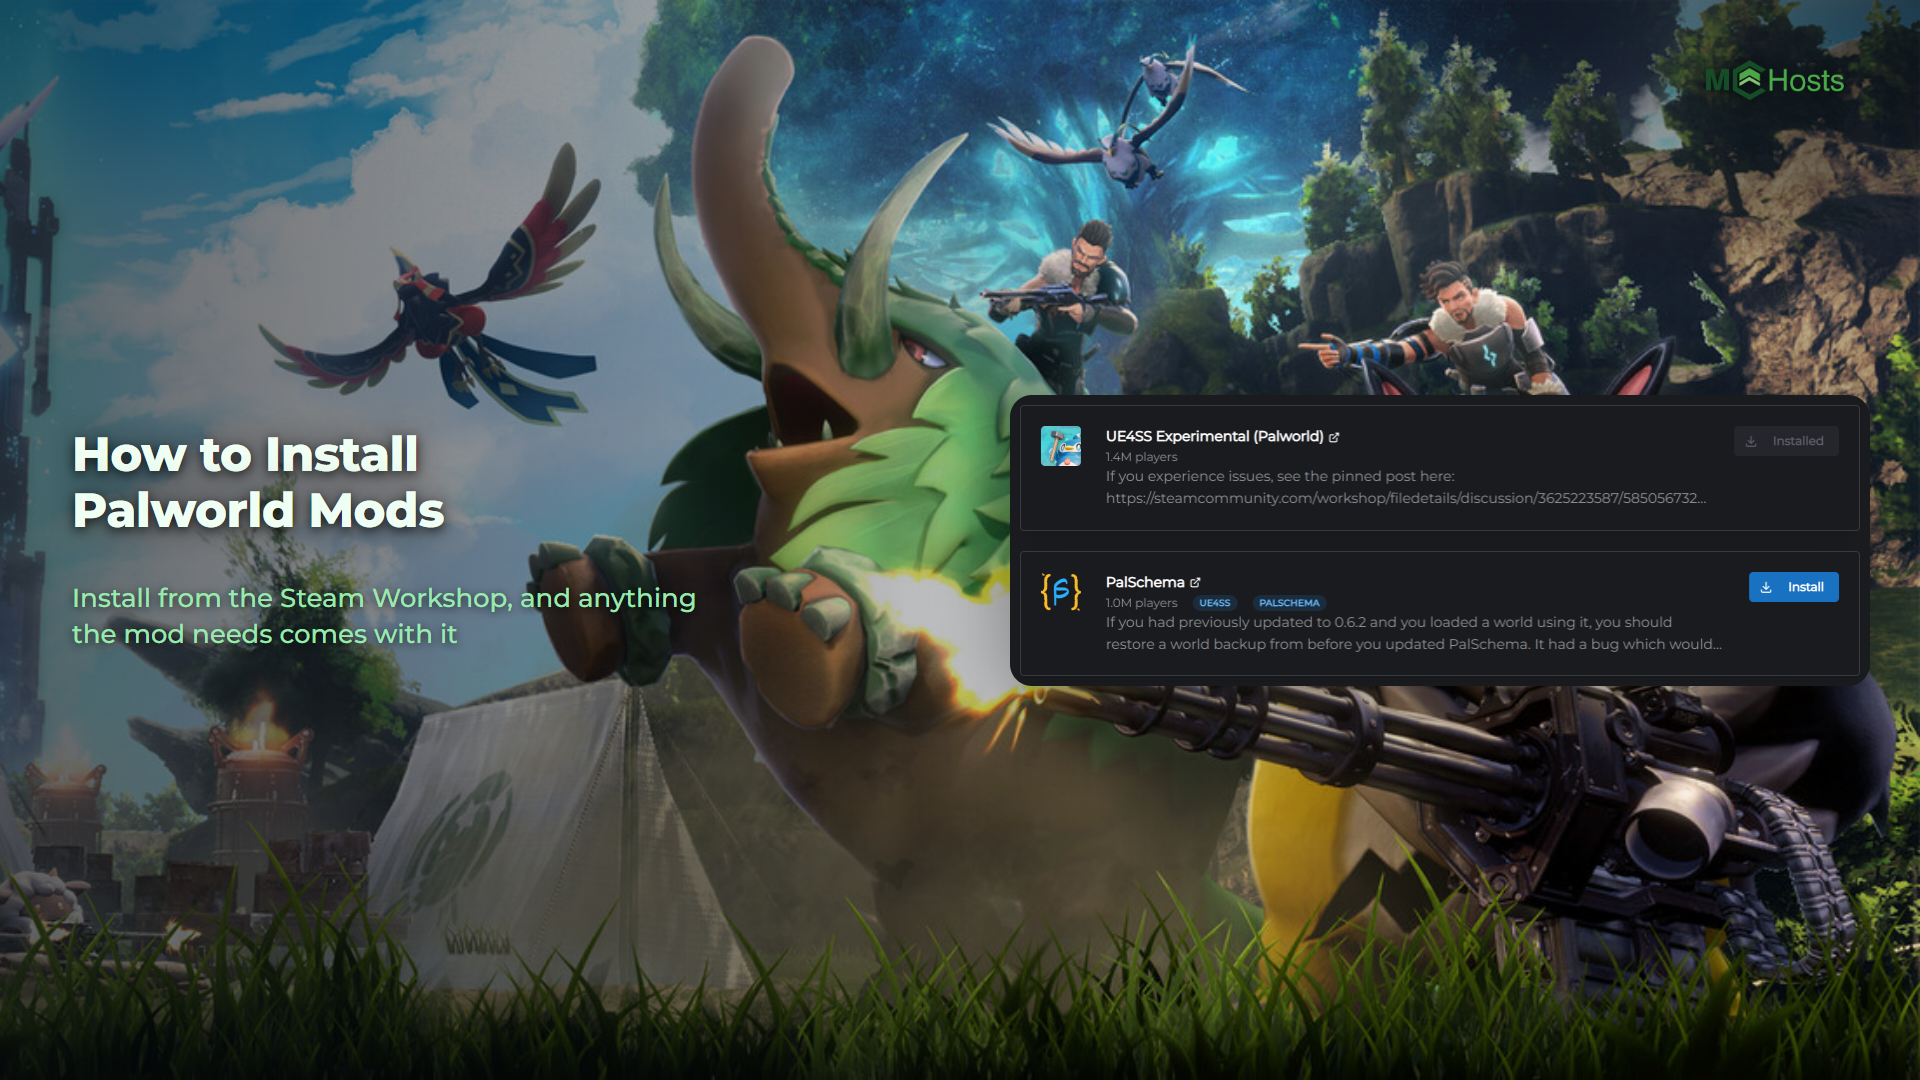
Click Install on the one you want. It goes into your list straight away.
Restart twice to finish
Your server fetches new mods while it starts up, and it can only switch on a mod it already had when it started. So a new mod takes two restarts, the first to download it and the second to load it.
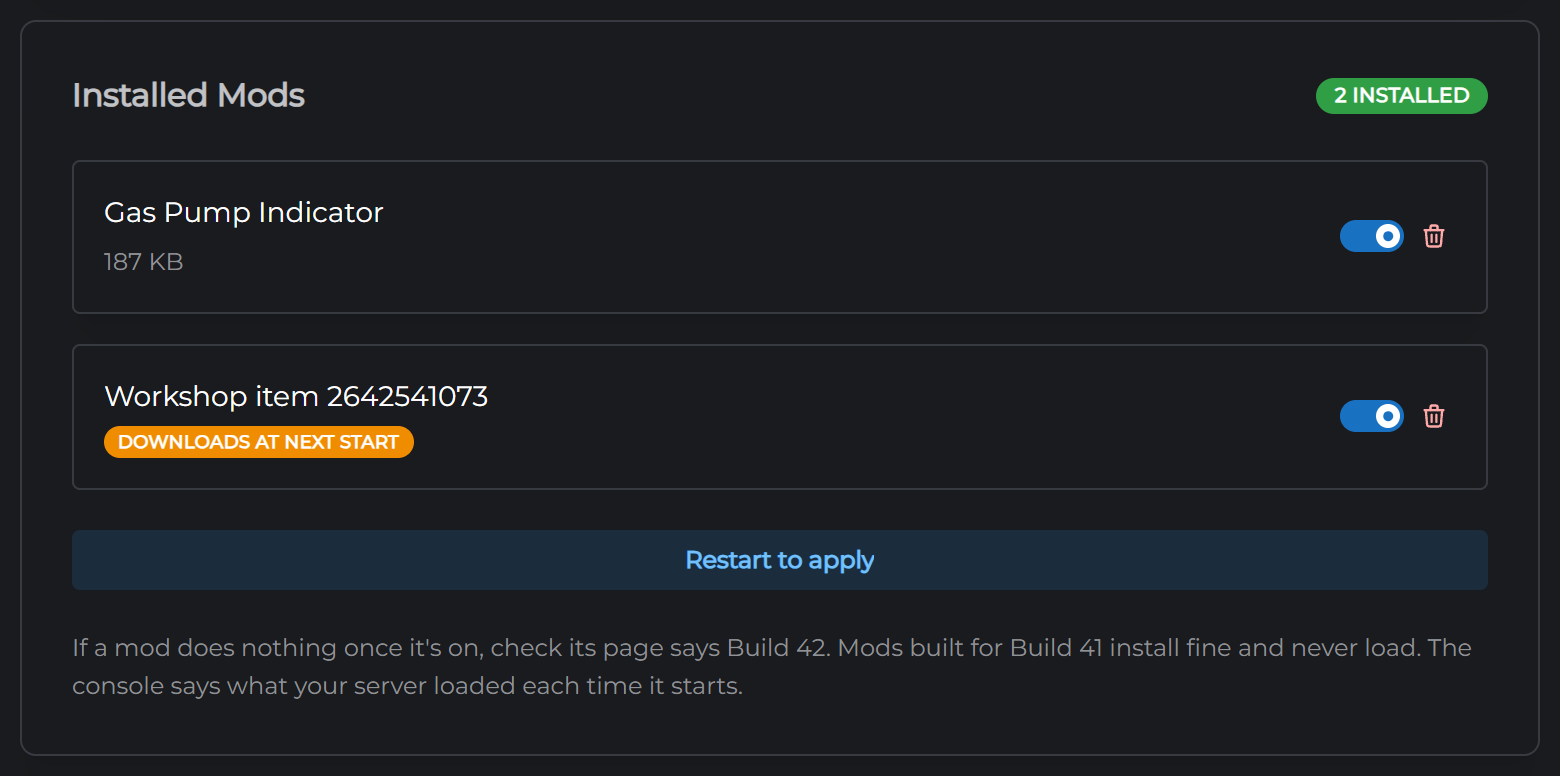
The row says Downloads at next start until the first restart is done. That label goes away once the files are on your server, but the mod isn't running until you restart once more.
Click Restart to apply at the bottom of the installed list, or restart from the Overview page. Wait for your server to come back up, then restart it again.
Your players need the same mods
Your server sends its mod list to each player as they join. Anyone missing something sees a screen listing the Steam Workshop items your server requires, and can install them from there. Steam subscribes them and downloads everything.
Tell them to let the download finish before they click through. Joining part way is the usual cause of a player getting stuck on the loading screen.
If someone is still stuck, it is nearly always a stale copy of a mod, often the Build 41 version of it. Have them unsubscribe it in the Workshop, verify the game files through Steam, restart Steam and try again.
Build 42 is the thing that catches people out
The Workshop is still full of mods made for Build 41. Your server runs Build 42.
A Build 41 mod installs, sits in your list looking exactly like the others, and never loads. Build 42 only loads mods that were packaged for it.
So before you install something, check its Workshop page says Build 42. The filter on the left of the Mods tab does this for you, and it's the single best habit to get into. Authors add that tag themselves, so now and then one gets it wrong. If a tagged mod still won't load, the console will usually tell you why.
Turning a mod off without deleting it
Each row in your installed list has a switch. Turn it off and the mod stops loading, but stays downloaded, so turning it back on is instant and costs no download.
Use the bin icon to remove a mod completely. That frees the space too.
Either way, restart your server to apply it.
If a mod isn't working
Check it says Build 42. This is the answer most of the time.
Check you've restarted twice. A mod added since your last two restarts isn't loaded yet.
Check it's turned on. That's the switch on its row.
Check the console. The Console tab shows what your server loaded as it started. A mod that failed says so there, and usually it's waiting on another mod the author expects you to install as well. Most mod pages list what they need under Required items.
If players are told a Workshop item's version is different from the server's, the mod has updated since your server started. Restart your server and it picks up the new version.
Next: Project Zomboid Server Settings